I first got a quilt pounce during the SoCal Quilt Run last year (2015) and promptly put it away. I didn’t know how to load it and I was afraid that I would get chalk powder all over everything. At Road last week, I ran into a booth that was selling the pounce along with stencils and such. They were doing demonstrations so I stuck around to figure out how to load it. I ended up buying the starter pack along with the other two colors (pink and blue). I was able to restrain myself from buying a ton of stencils but figured I could use the stencils included in the starter pack. And if I find I like it, get more stencils at next year’s Road.
Here’s how to load the pounce. #1 – Everything comes in a little bag.

#2 – take everything out of the bag, be sure to keep the bag. The pounce is all together and not apart or anything.

#3 – take out the clear plastic top in the middle of the pounce and fill it with powder. It wasn’t the easiest thing in the world to put the powder from the baggie into the little hole, but it can be done. I didn’t use a funnel so some of the powder fell off. If you want to be more precise I guess you can but if you don’t mind losing some powder, you can do it without a funnel. You should do it outside to protect anything in the house. I started the process on my bench, but ended up moving to the ground because I didn’t want any powder to get on my bench. That way, I wouldn’t have to clean any powder up if it should get on the bench. 🙂
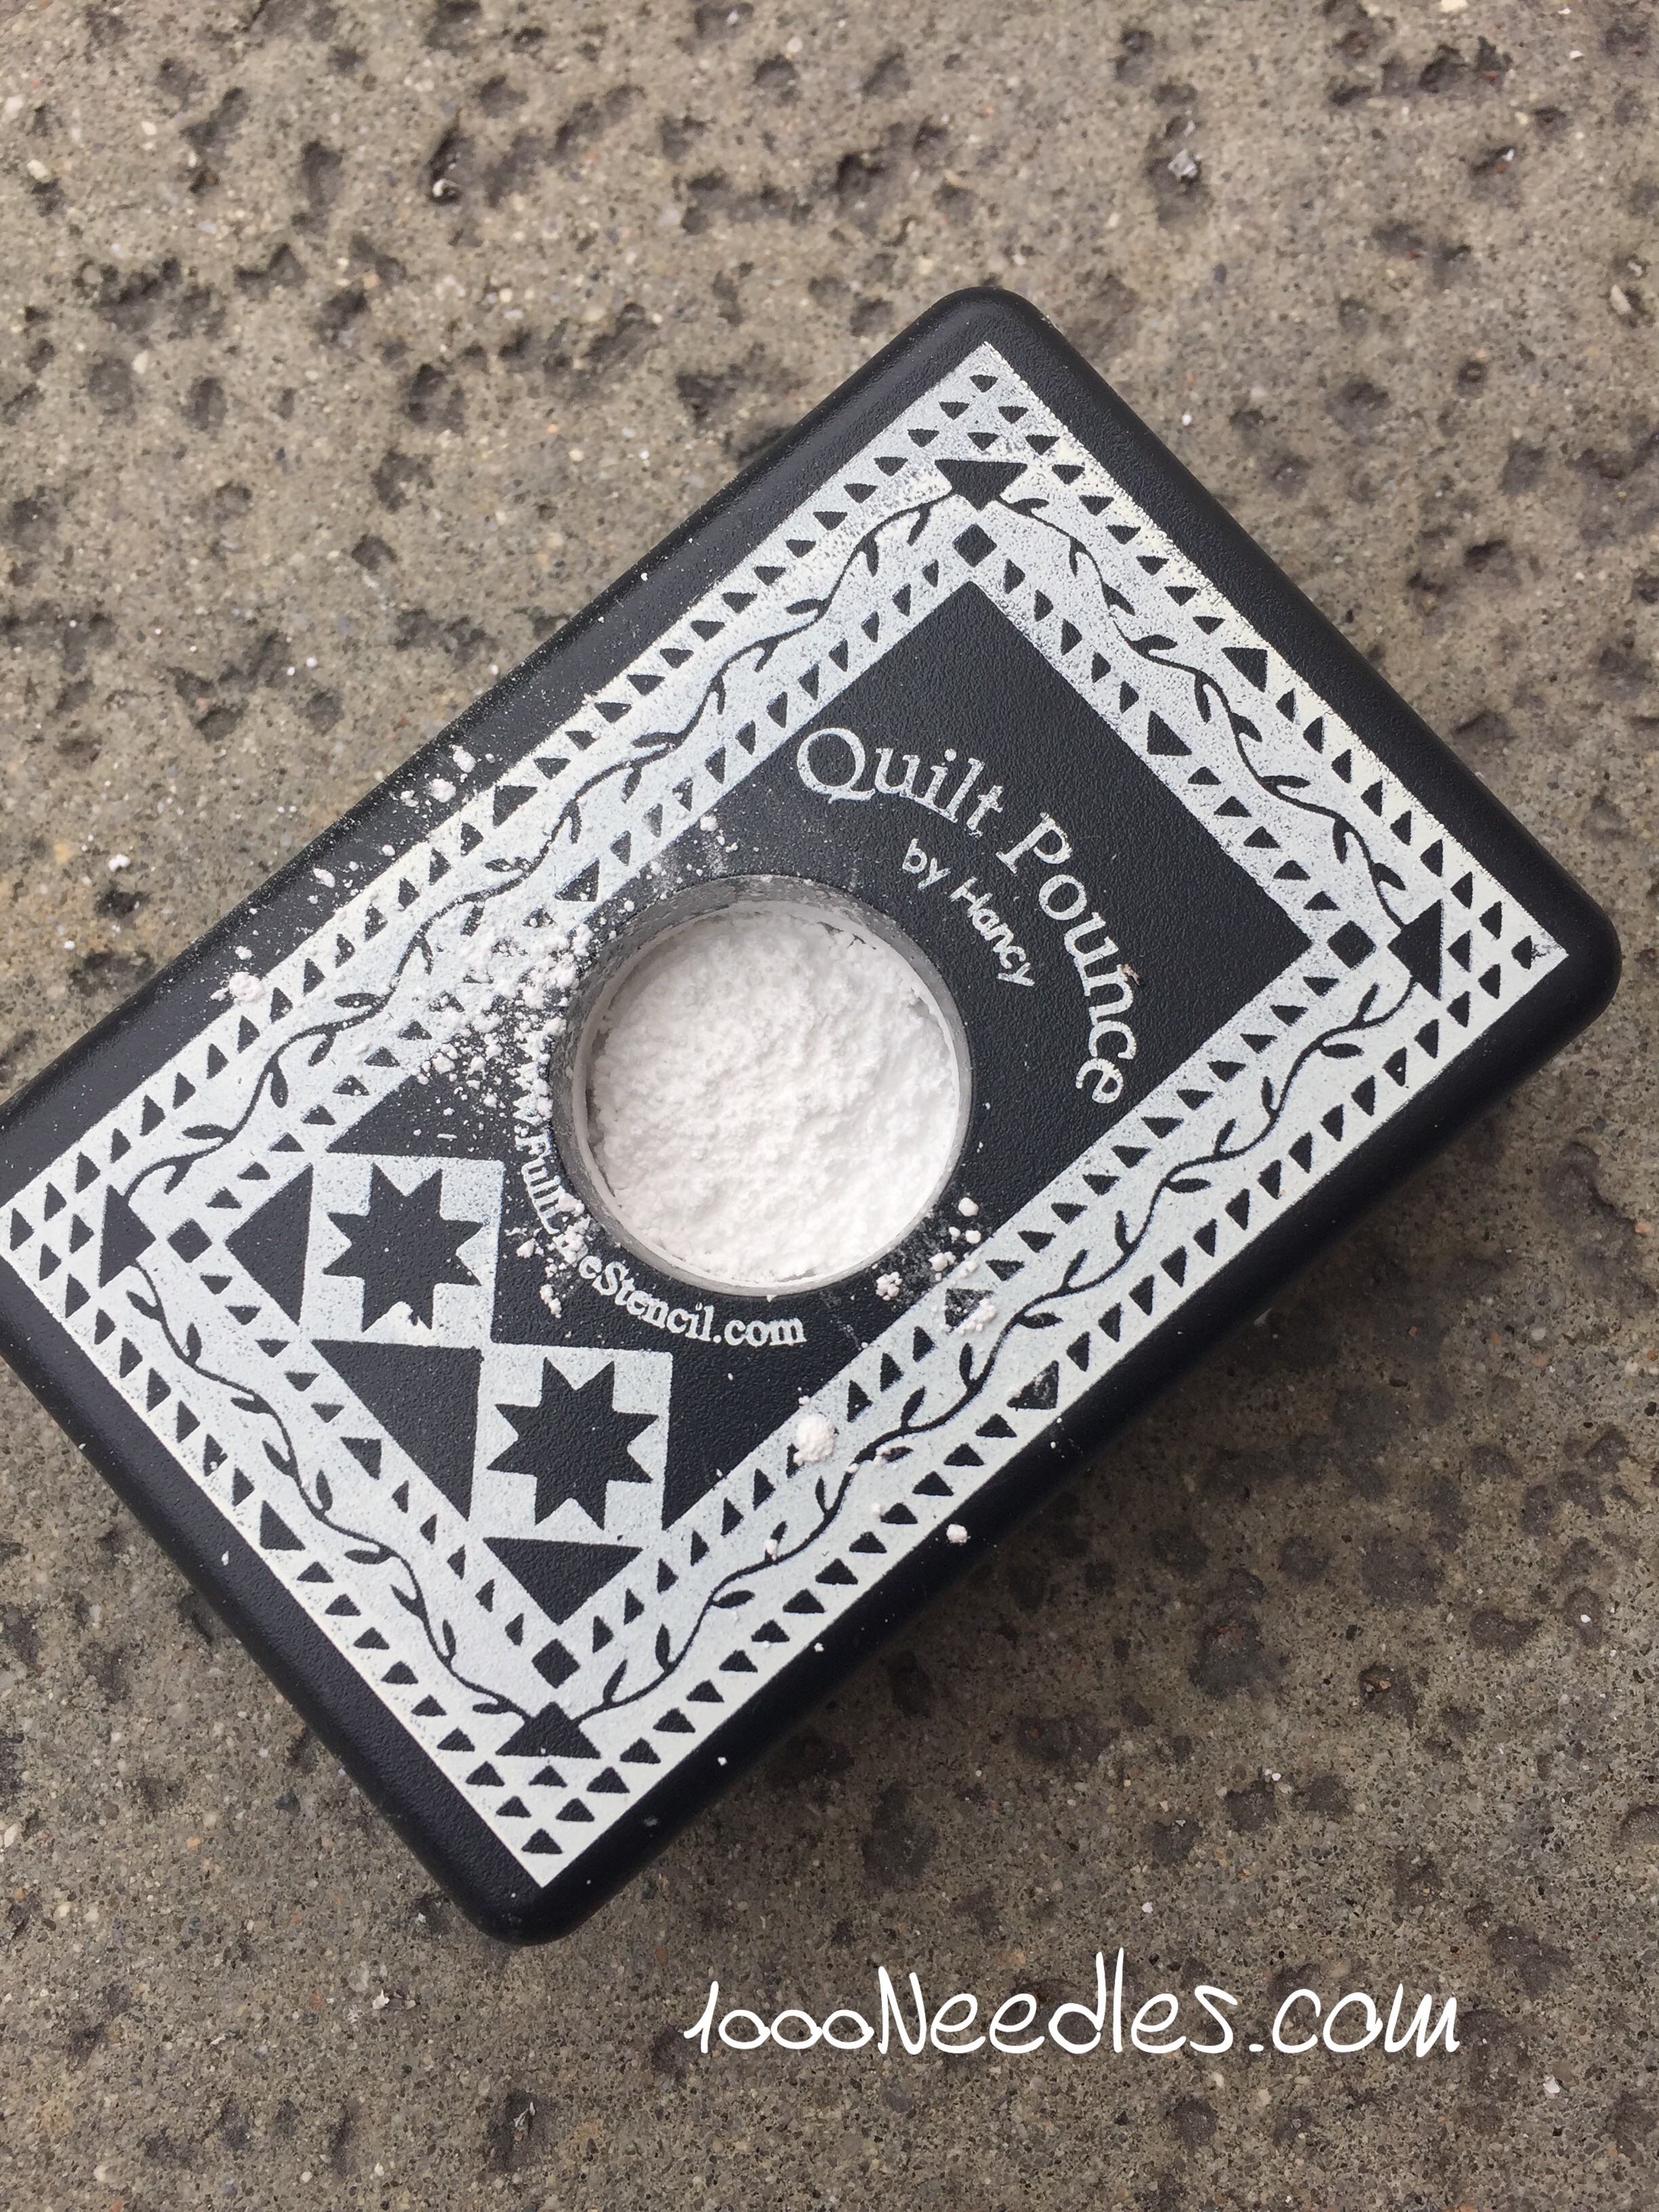
#4 – Once it is full, put the cap back on. It didn’t take long to get to full and I didn’t mush it down or anything I just poured it in until I felt it was full. Then pound the thing on the ground 50 times. The instructions do not say to do this. But the guy at the demonstration said to do this. Keep in mind, you only have to do this the first time you load the pounce. Once it is loaded the first time, you only have to pound maybe 5 times when you refill. Also, I say pound and it’s basically like hitting a chalk eraser on a chalk board. You don’t have to pound it too hard, just a slap on the ground. 50 times. Also, you want to make sure the bottom part is still on. At this point you haven’t taken it apart other than the top clear plastic circle thing.
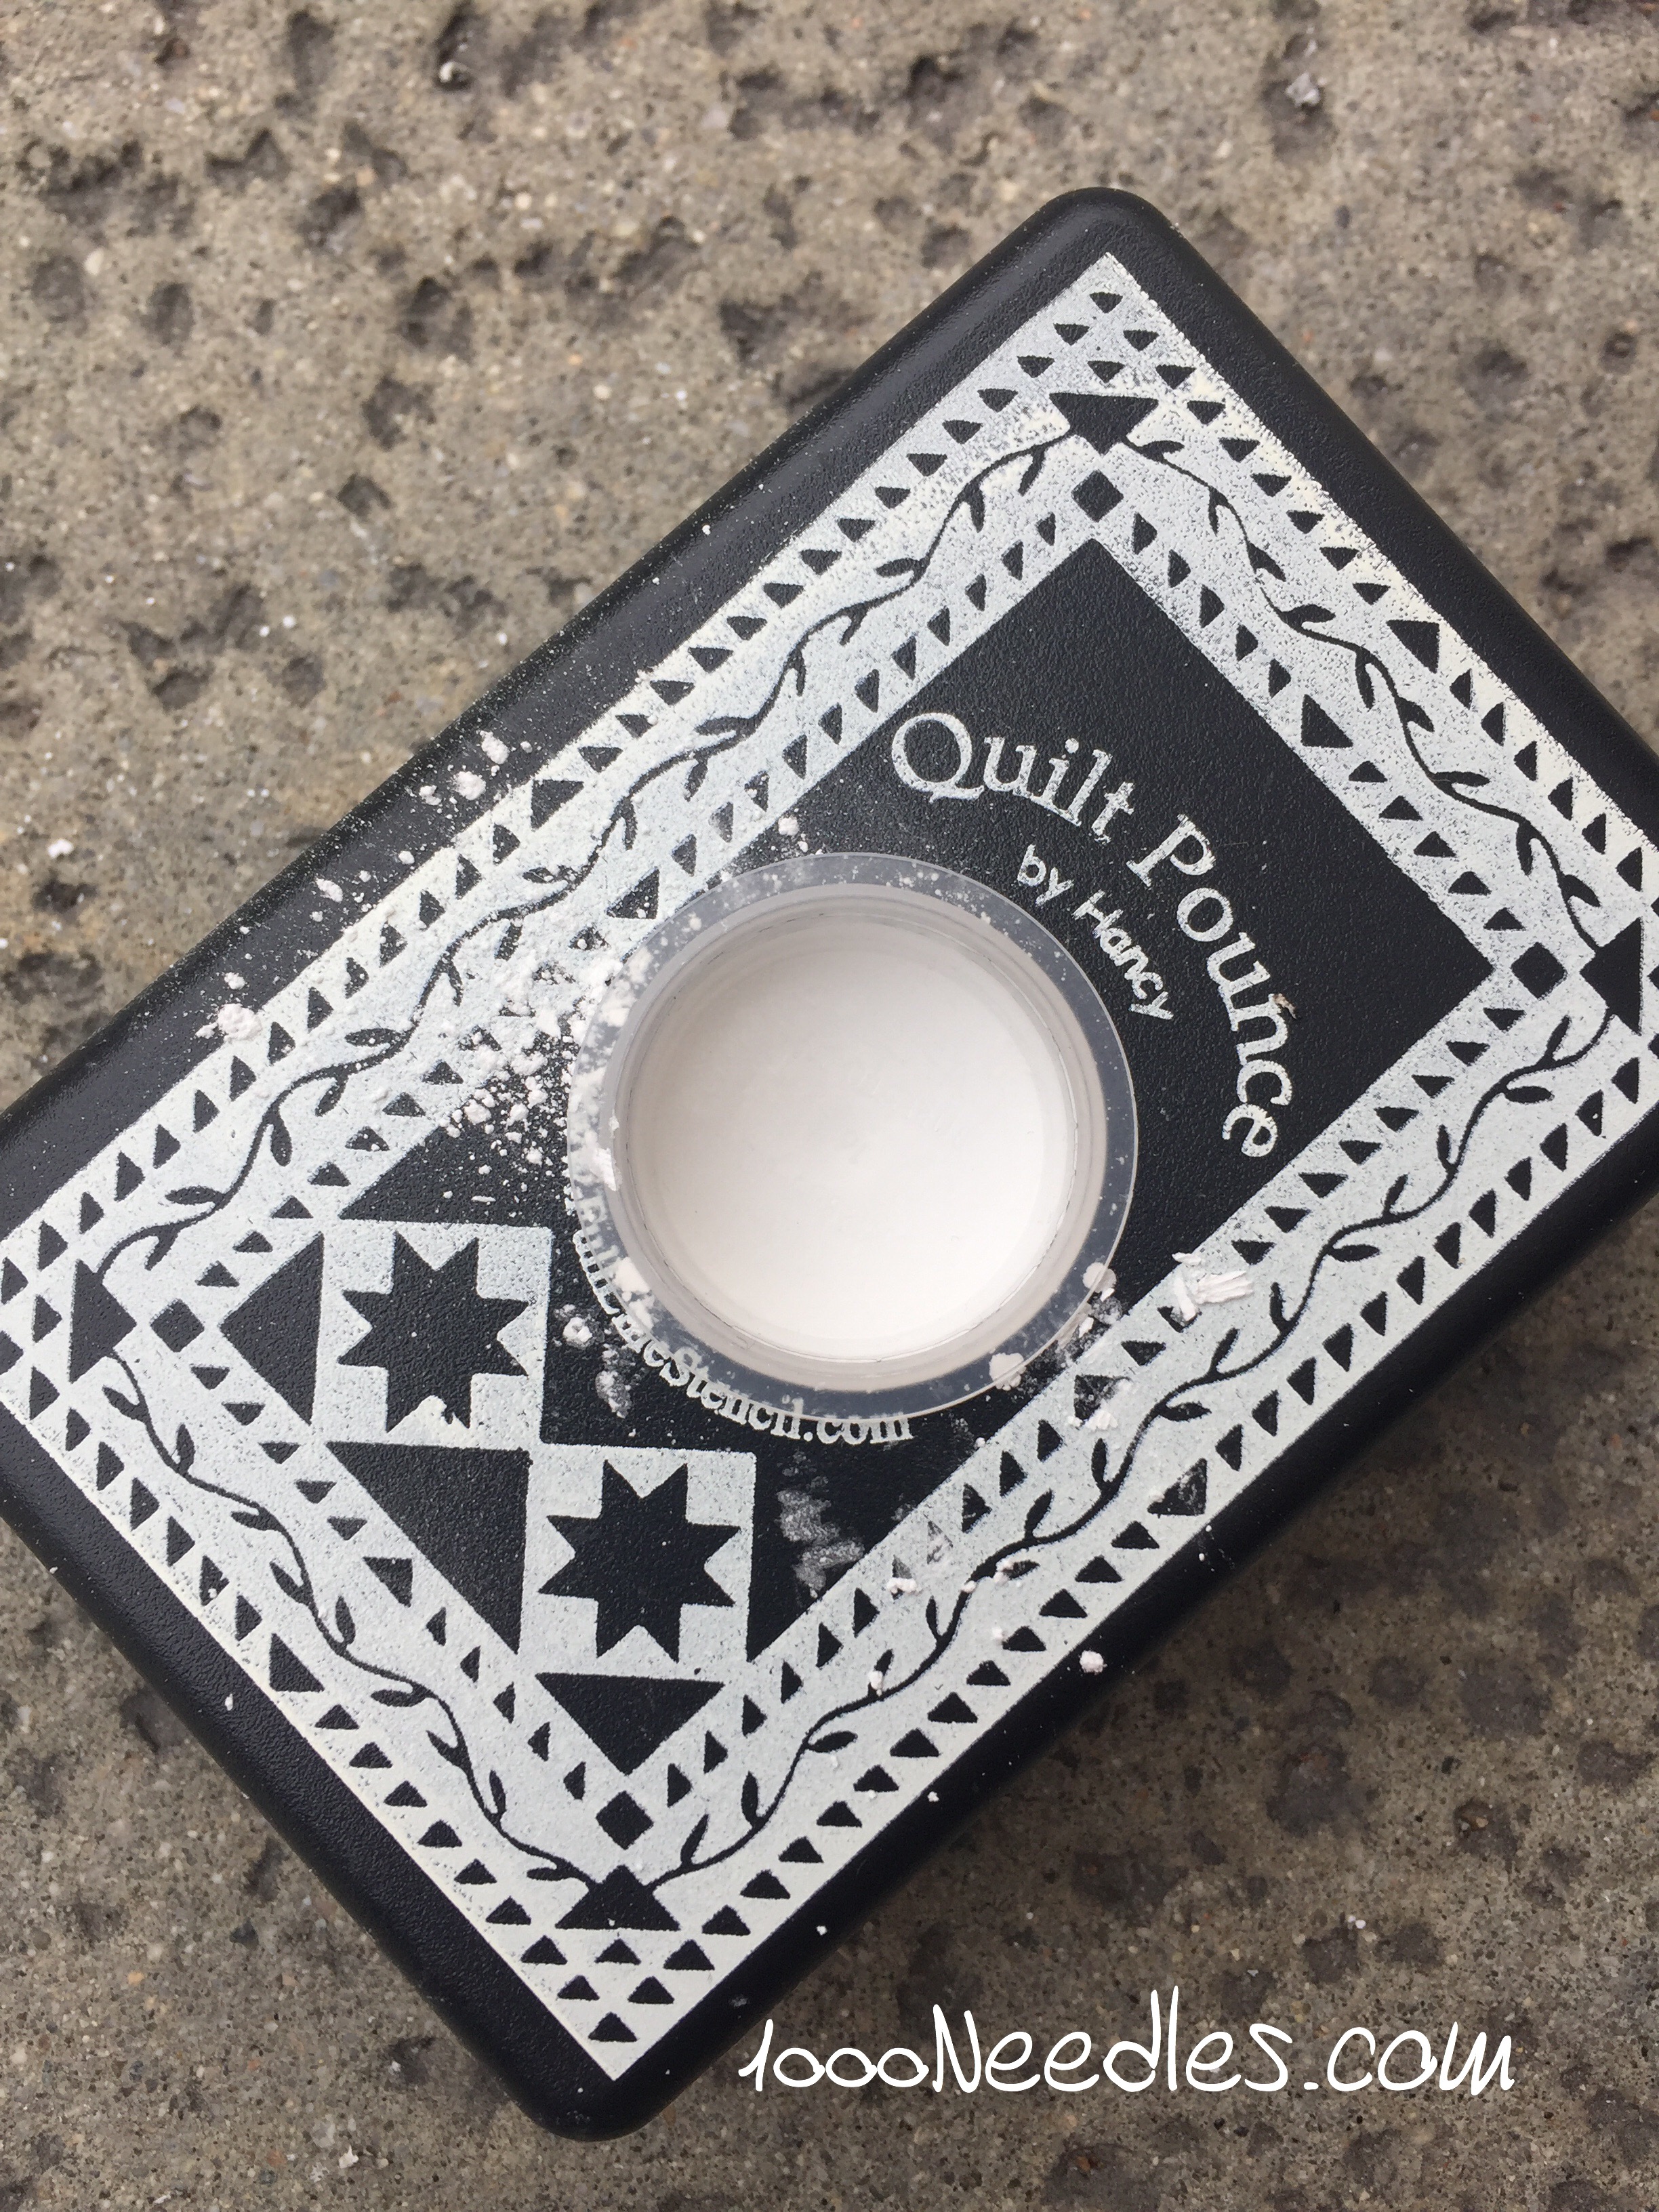
#5 – After you pound it 50 times, take the top plastic circle thing off. As you can see, the powder is pretty much gone. It went into the sponge like thing inside. Fill it up with powder again.

#6 – Close up the top and pound another 50 times. 
#7 – I didn’t take anymore pictures because they’re basically the same at this point. Open up the top and refill it with powder again. And you are ready to mark your quilt.
#8 – I didn’t use up all the powder in the baggie so I put it back in the originally bag it came in so that none of the powder that fell onto the side of the powder bag would get on anything. I also put back the instructions and label so I knew what the powder was for.
KEY THINGS TO NOTE – This demonstration showed the white chalk powder. The white chalk powder can be ironed off of fabric when you want to remove the markings. It is important to know that the blue and pink do not and you need to use paper towel or batting or fabric to remove it. The guy at the demonstration said NOT to mix your powders so always use the white chalk powder in your white chalk pounce; blue in blue; and pink in pink.
I hope this helps. I need this documented so that I remember how to do this next time. I still need to load the pink one and the blue one. I’ll probably take pictures of those too because I think next time I’ll take pics of the box and the sponge inside. I only took pics of the outside this time. Also, I’ll want to post about how to use it. I’m sure there are plenty of stuff about this online and I could probably link to it – but what fun is that?
~Melanie
I still need to load mine too! Whoohoo! I’m glad we received the same instructions…thanks for the reminder Melanie!
Thanks Dori! if I document this I will remember the next time I load the other pounces! 😀