Tag Archives: hand work

Quilt in Progress: Apple Blossom, a Mountain Mist Pattern

Started: December 2022

I first posted about this quilt here

My January goal was to cut fabric for the first block and get started. Normally the next step is to cut all the fabric as indicated by the instructions for each part. But the mountain mist patterns were written a long time ago. I believe early to mid 20th century. And as with most old patterns (whether quilting, sewing or knitting) it tends to assume you know things which nowadays people just don’t know. So rather than cut all the pieces only to find out I did something wrong, I cut enough to do one block.

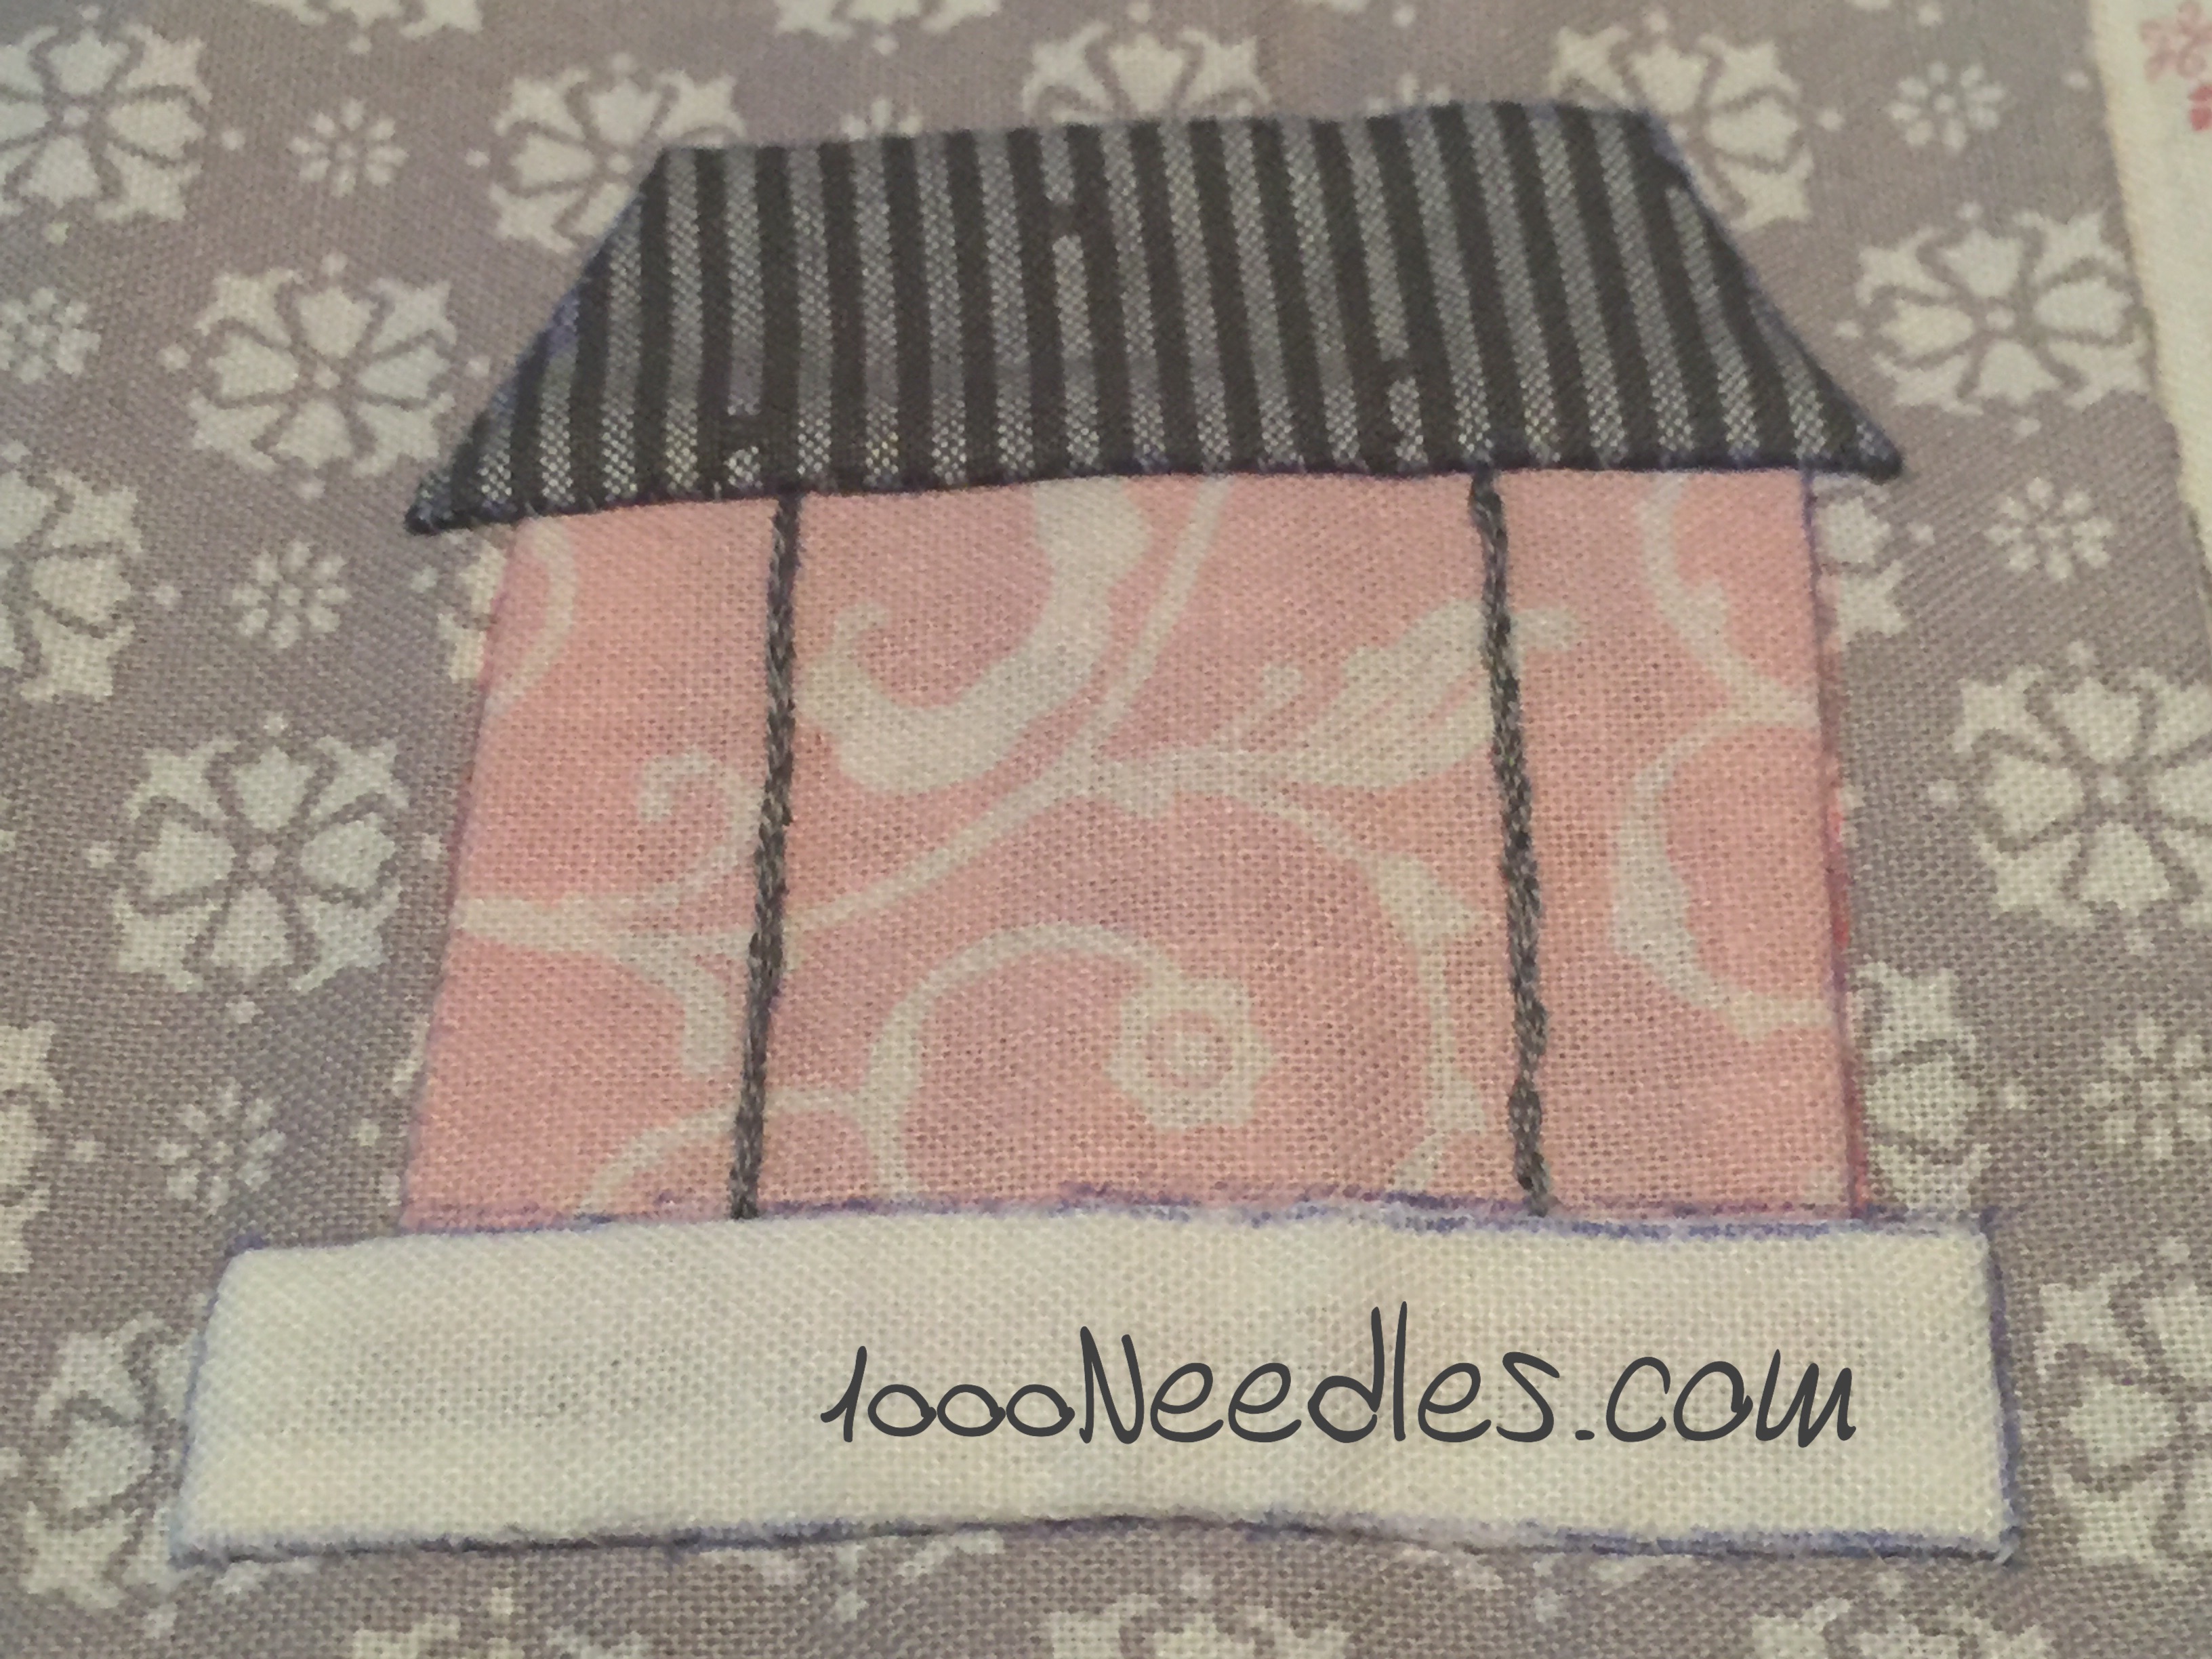
Here’s what I found- for part 5 and 6, there are two places on each block that use these and they are both not the same! So part 5 has two not identical pieces. Same for part 6! It makes no sense. Usually when you have a part for applique they match. Anyway the tips match but one is longer than the other. So had I made a template of the longest part I would have been fine. But I didn’t. I made the templates from the shortest part for both 5 and 6! I made do for now so I could finish cutting for one block. But I’ll need to make new templates for these to make sure I don’t cut the longer part too short in future blocks.

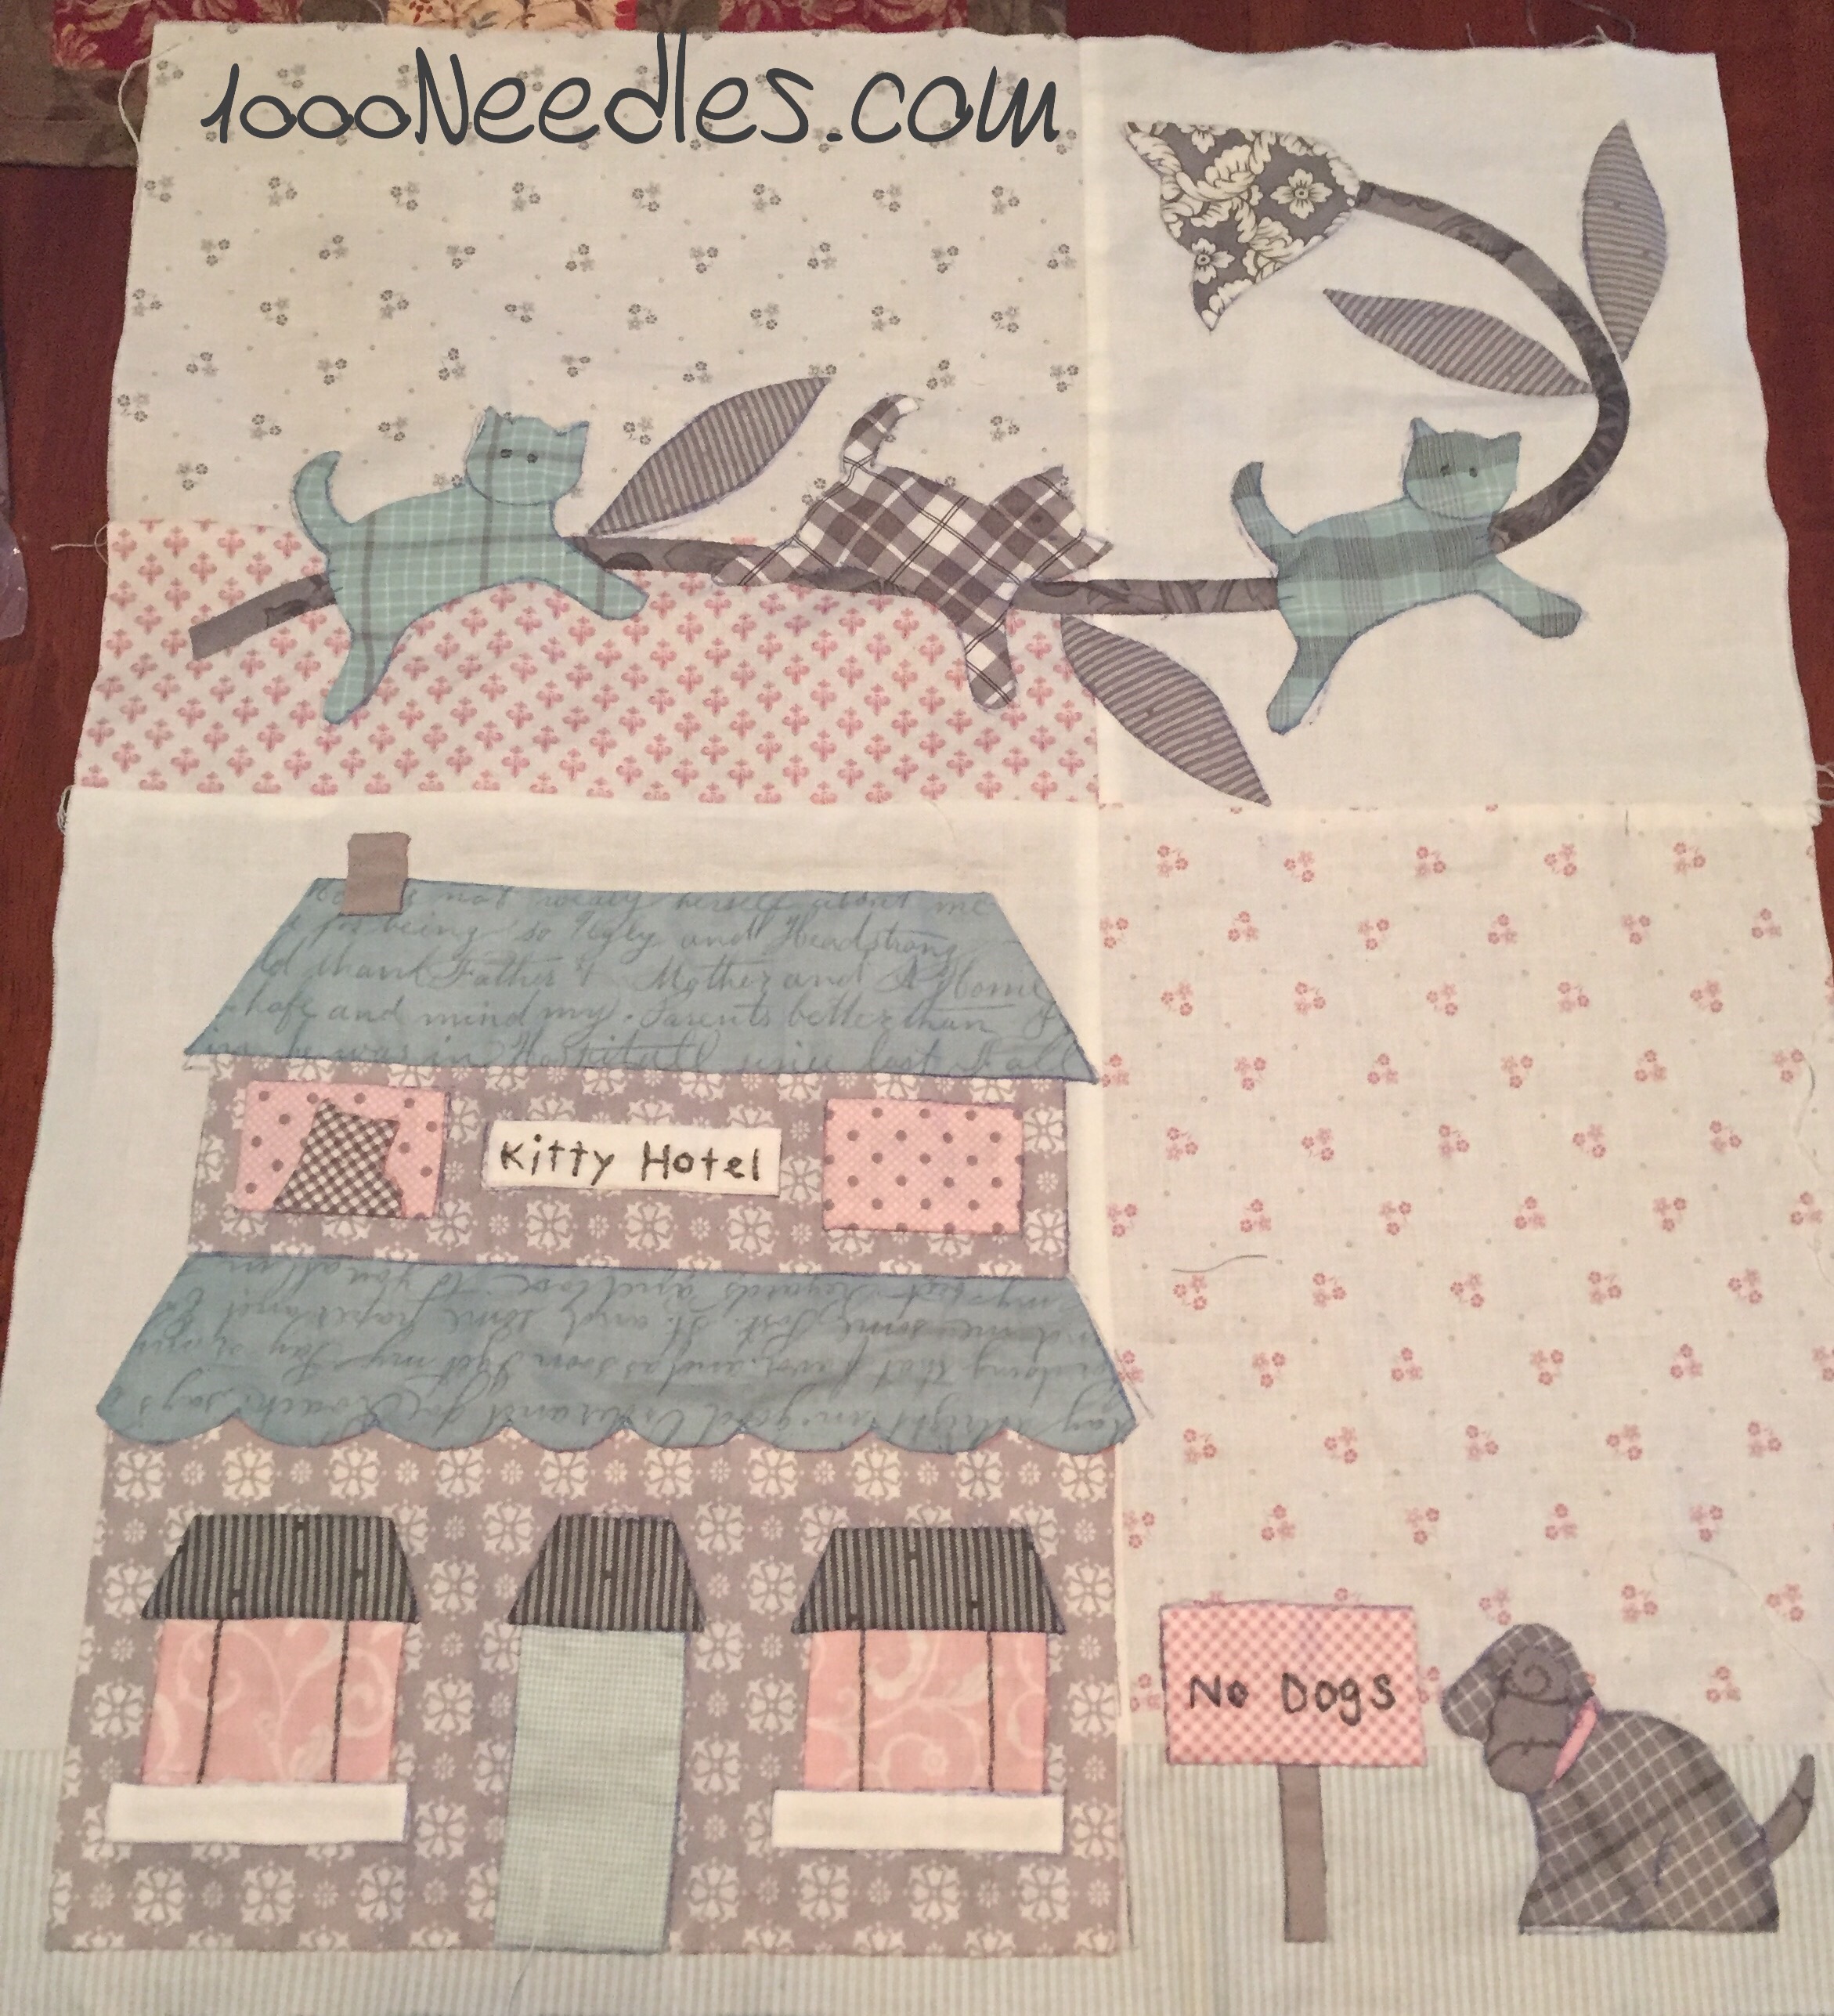
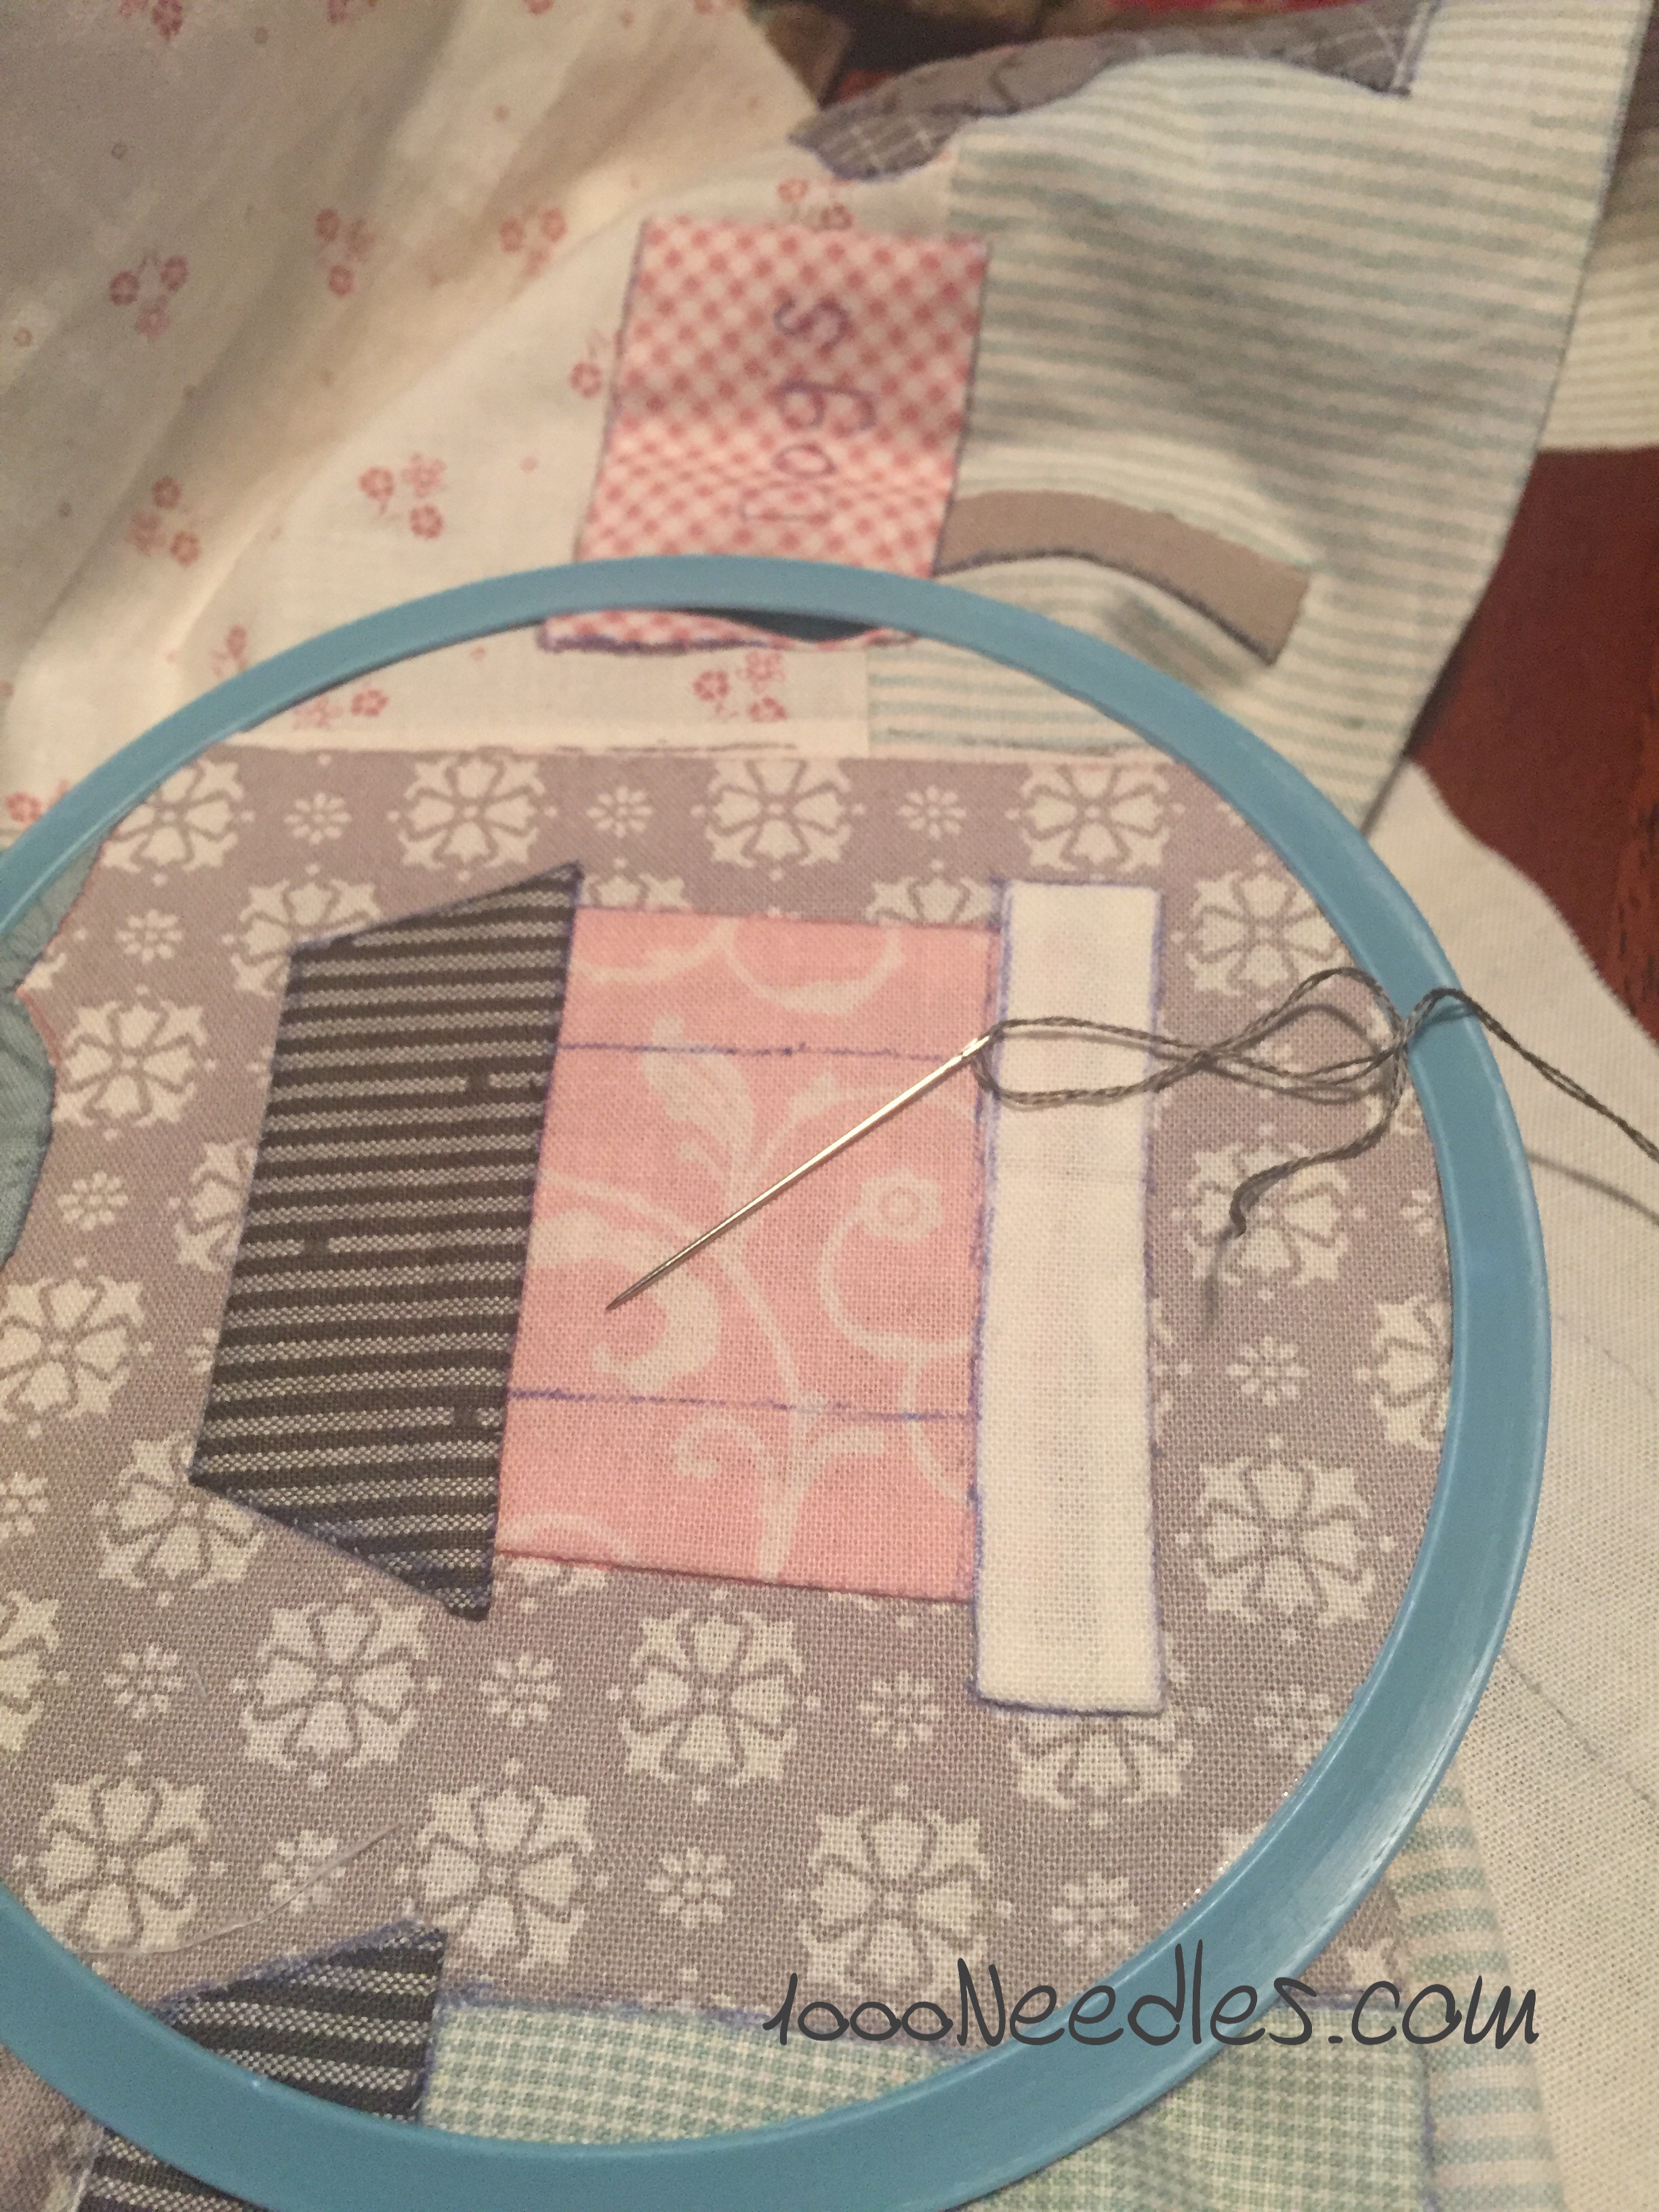
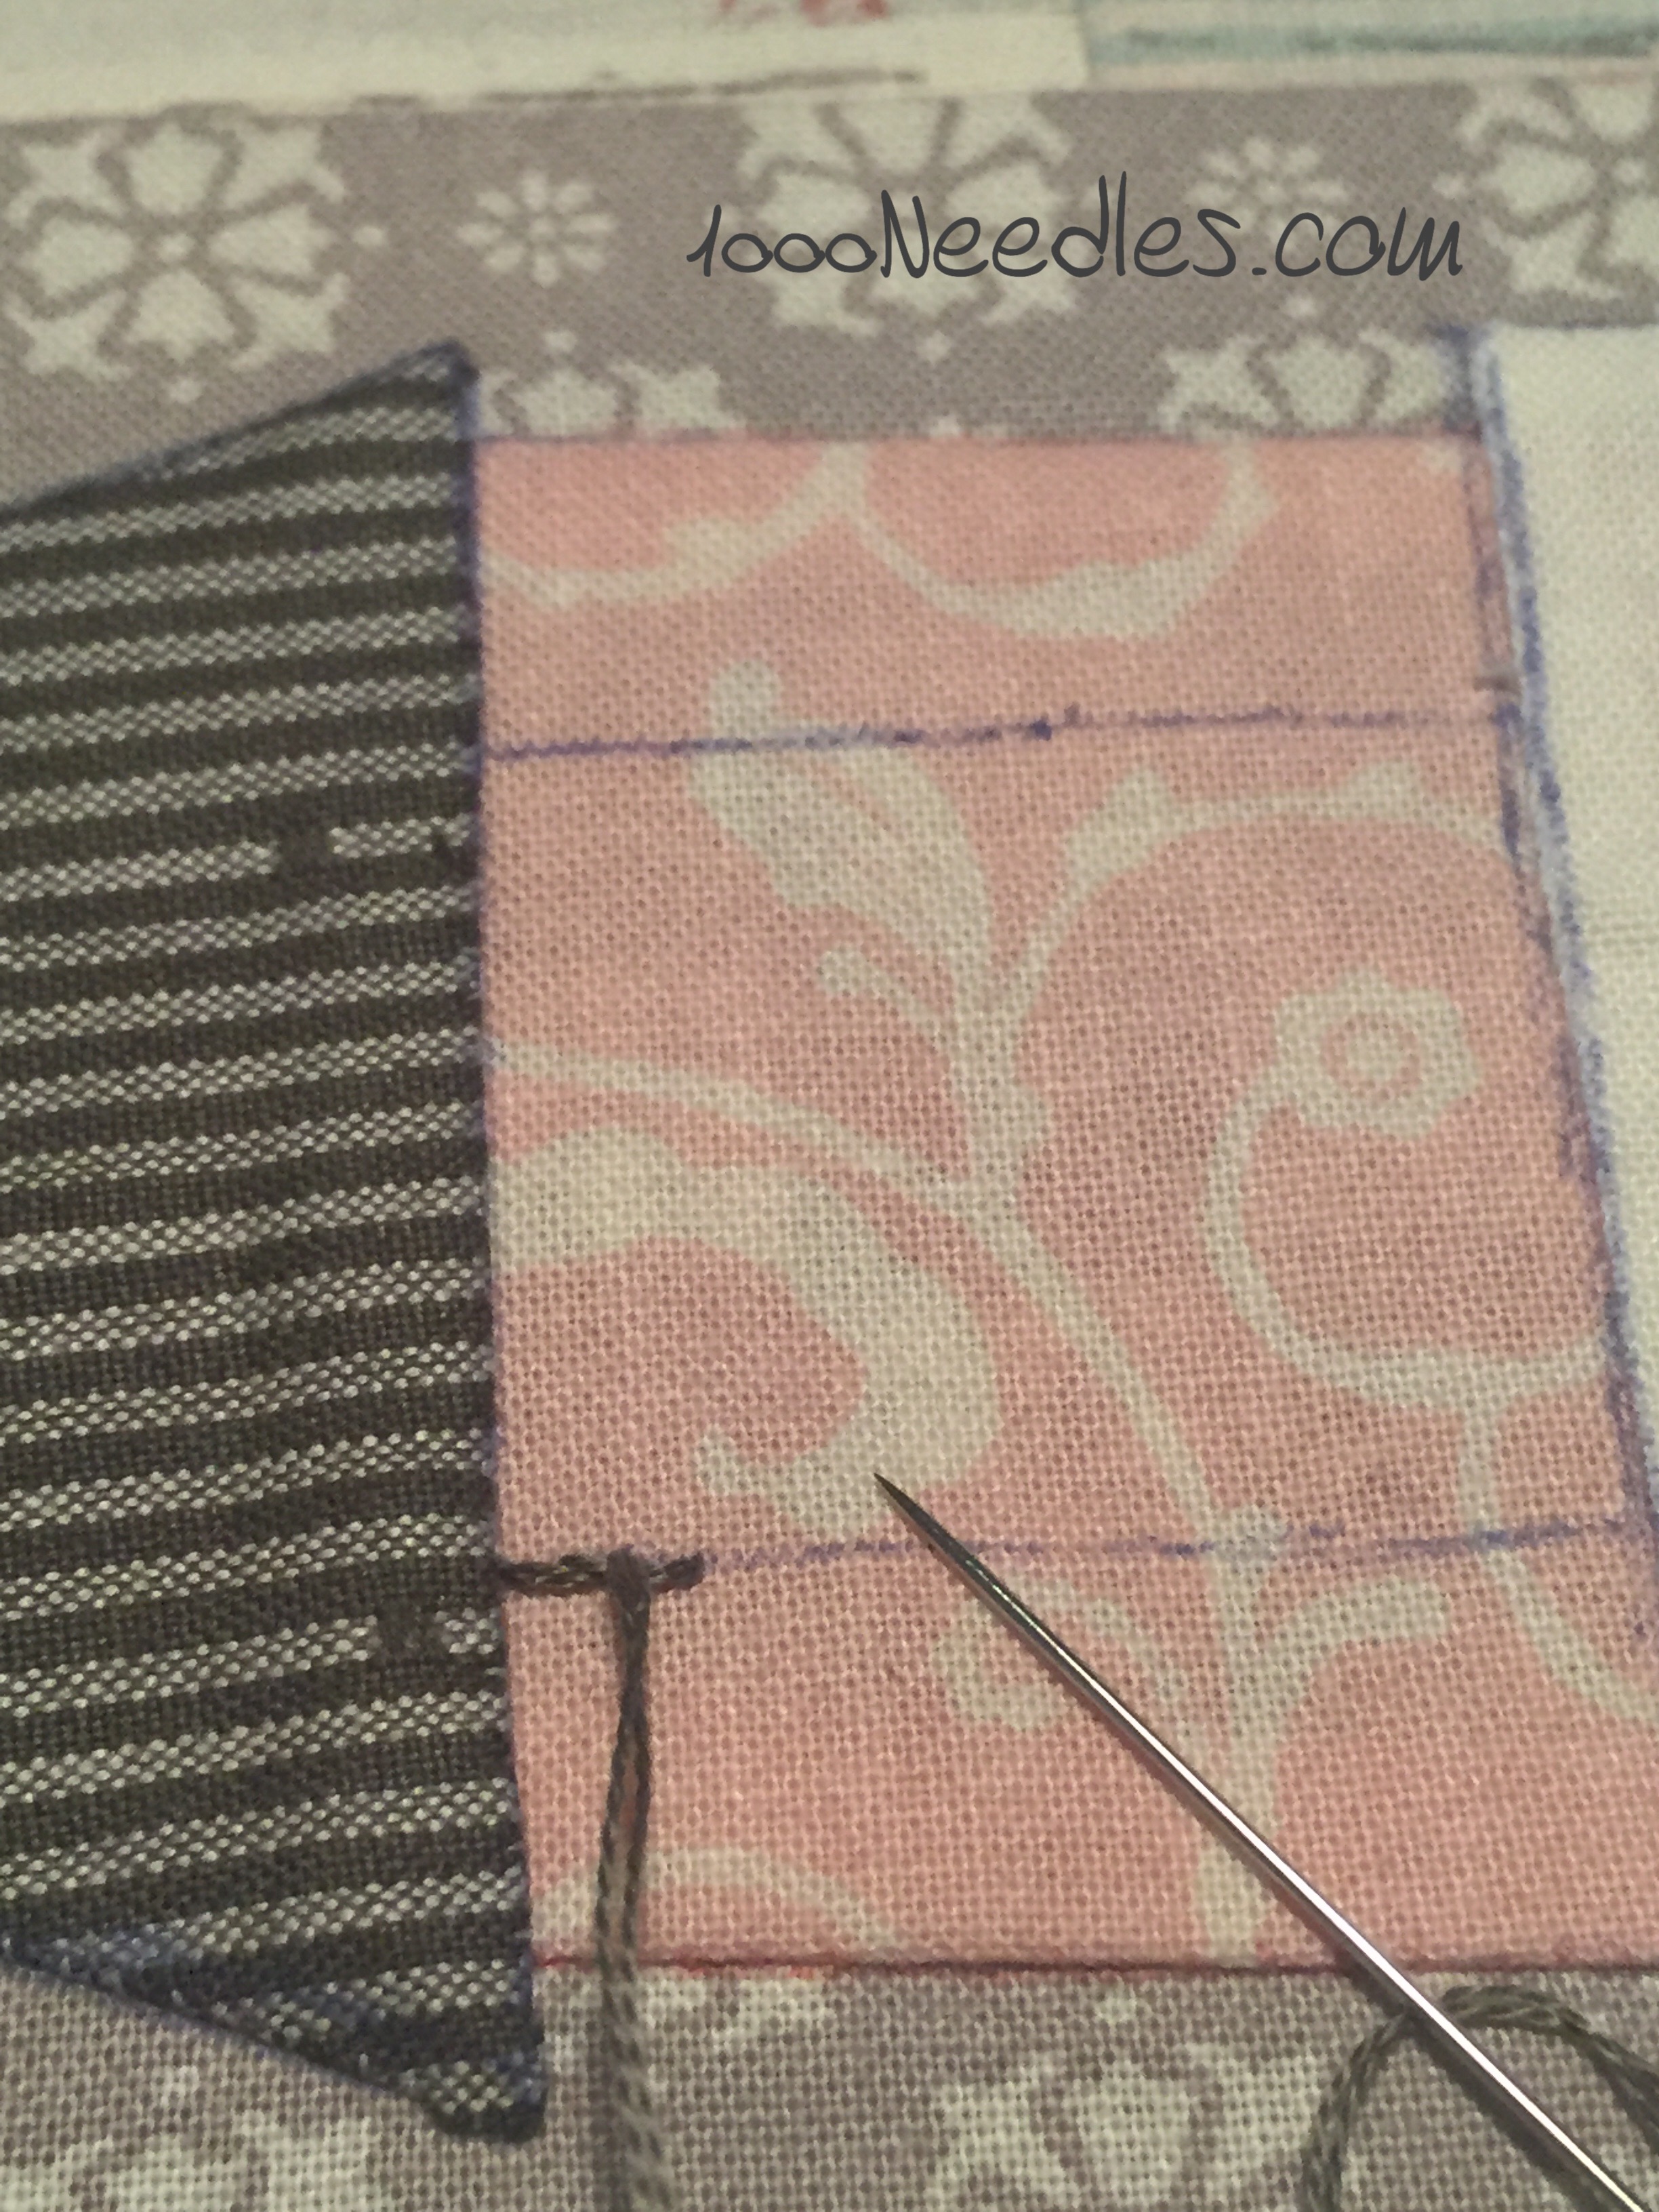
The pattern also didn’t indicate which part to applique down first. Nowadays the numbers on the parts tell you which to do first. meaning applique #1, then #2, etc etc. But this one isn’t that way. So I picked this part to do first. I actually didn’t have the right color thread to applique. I have 100w silk that is so nice to applique with and I know I have purple somewhere. Or I think I do. If I do, it’s tucked away in a project. And the 100w silk that I used can be seen on that dark purple if you look closely. The next best thing is 80w aurifil or even 50w aurifil. the thread is so thin, it just sinks into the fabric. But despite me having a lot of purples and it being my favorite color, I didn’t have one that matched that dark purple!

I did find a pretty lighter purple in 50w Aurifil for the lighter purple. I’m going to Road to CA this coming week so I’ll be sure to take a sample of that dark purple to find a matching thread. Normally I wouldn’t care so much and just use what I have. But since I’m going to Road soon it doesn’t hurt to add it to my shopping list.

And I finished appliquéing those two pieces and was about to start a third when I stopped myself. My energy was waning and if I started this third piece I would probably end up ripping it out. So I settled on looking for thread for that green. I found one in my Superior thread collection. At 40w it’s not ideal thread to applique with for me but the color is dead on and I would love to use this thread for something. I had bought this years ago at a massdrop thing when I was into that. I rarely use these threads since I’m an Aurifil girl now and would love to use it up. So I will try. If I find that it’s too thick for applique I will switch it out.

Hugs

Melanie

Hand work: a finish, woohoo!!!

RAINING CATS AND DOGS!

This week I finished getting all the black embroidered on.  When I started working on it, I realized there wasn’t that much I needed to do so I finished the last bit of embroidery, which was just the pink chain stitched cat collars.

Here’s a pic of where I left off on my last post on this:


img_9290

And here it is now:

Raining Cats And Dogs Block 7 Final 1/24/2016

Raining Cats And Dogs
Block 7
Final
1/24/2016

Here is a close up of the chain stitching:

img_9369


And now all the blocks are finished for Raining Cats and Dogs!  Woohoo!

I posted a pic of all the blocks laid out on my design floor but it’s so lovely, I must post it again! 🙂

Raining Cats and Dogs All blocks laid out on the design floor 1/24/2016

Raining Cats and Dogs
All blocks
laid out on the design floor
1/24/2016

Now the next question… what will I do for hand work now that I’m done with the hand work for Raining Cats and Dogs?  I’ll take a week off to enjoy this moment and ponder this.

~Happy Tuesday!

Melanie

Hand work, an update

RAINING CATS AND DOGS!

This week I got all the gray part embroidered on.

Here’s a pic of where I left off on my last post on this:

img_9254

And here it is now:

img_9290

In addition to the window, I have all the words finished and the blue cats’ eyes satin stitched on.

Here are some close ups:

img_9288


img_9289


img_9291

Not sure if the pics help any but there you are.  Next step is to embroider the black parts.

~Happy Tuesday!

Melanie

Hand work

RAINING CATS AND DOGS!

I’m working on the embroidery part of the final block of Raining Cats and Dogs!  I’m so close to being finished, I can smell it! 🙂

I like to have my little projects in these work baggies.  They could be ziploc bags or, since this project started out as a BOM and each month came in a bag, I just used the bag it came in.


img_9250

It makes it handy to store, handy to grab and go, etc.  Everything I need is in the little bag.  All the thread for the project.  The correct needles (I have one for applique and another one for embroidery.)  And I have my applique scissors.  I love little scissors.  I usually keep my eye out whenever I go to a quilt shop or show for cute ones to add to my collection.  I have a bunch just stashed in projects around.  It’s always such a treat when I find one in a project I hadn’t worked on in awhile.  Something to know when keeping bags… I’ve heard it’s not good to keep fabric in bags for an extensive length of time.  I don’t know if it’s true but I do know it’s true for photos so I imagine it might be true for fabric too.  This is why I only keep current projects in bags.  I know I’ll be working on it pretty regularly.  All of my UFOs that I’m not currently working on are in bins.

img_9251

I take all the crap out of the bag and get myself organized.

img_9252

I found this blue plastic hoop at a shop while doing the SoCal quilt run last year and I absolutely love it.  I used the wooden ones forever and screwing the thing on and off was a nuisance.  It wasn’t a big deal but when I saw this hoop, it is just a squeeze to put on and a squeeze to take off.  I had to get it to try it out.

img_9256

Here’s a picture of it when it isn’t on a project. As you can see, simple squeeze of those metal things and it easily goes on and off.  I only have 1 so I keep transferring it between projects.  Maybe if I happen to remember and see it again, I’ll buy another so I don’t have to keep moving it between my cross stitch project and my hand embroidery project. 🙂  It is absolutely worth  the $6 or so I spent on it.

img_9253

Here’s a close up of the tiny stem stitch that the project called for.  I’m not an expert on embroidery but with this BOM I’ve used tiny stem stitch, satin stitch, and the running stitch a lot.  I think those are the ones I’m most familiar with.  Any others and I need to check it out on youtube and practice before I attempt it on my projects.

img_9254

And here’s the final block so far with both windows embroidered…

img_9255

… a close up of my work…

~Happy Tuesday!

Melanie