Tag Archives: embroidery

Stitch Club

Sample project from the instructor

I love my LQS. I’m lucky to have several near me. At least 4. My favorite, the one I refer to when I saw MY LQS is Quilt Emporium in Woodland Hills. It’s not the one closest to me now but that’s because I moved. When I lived in the west side of the San Fernando Valley, Quilt Emporium was the closest one to me. I took my first quilt class there (with the previous owner) and I’ve watched them change hands, expand their fabric selection, etc. etc. They are wonderful, welcoming people.

In May, they sent an email with upcoming classes and one of them was for “Stitch Club”. Stitch Club is a hand embroidery class and the first sessions were in June and on a weekday. I emailed them and explained that me (and several of my quilt buddies) would love to take the class. But, at least 2 of us still work and would not be able to do weekday classes. Not to mention that we were fully, overwhelmingly booked in June. So Lisa, the proprietor, worked with our calendars to find a Saturday in July that worked. That was today. We had so much fun.

more samples from the instructor

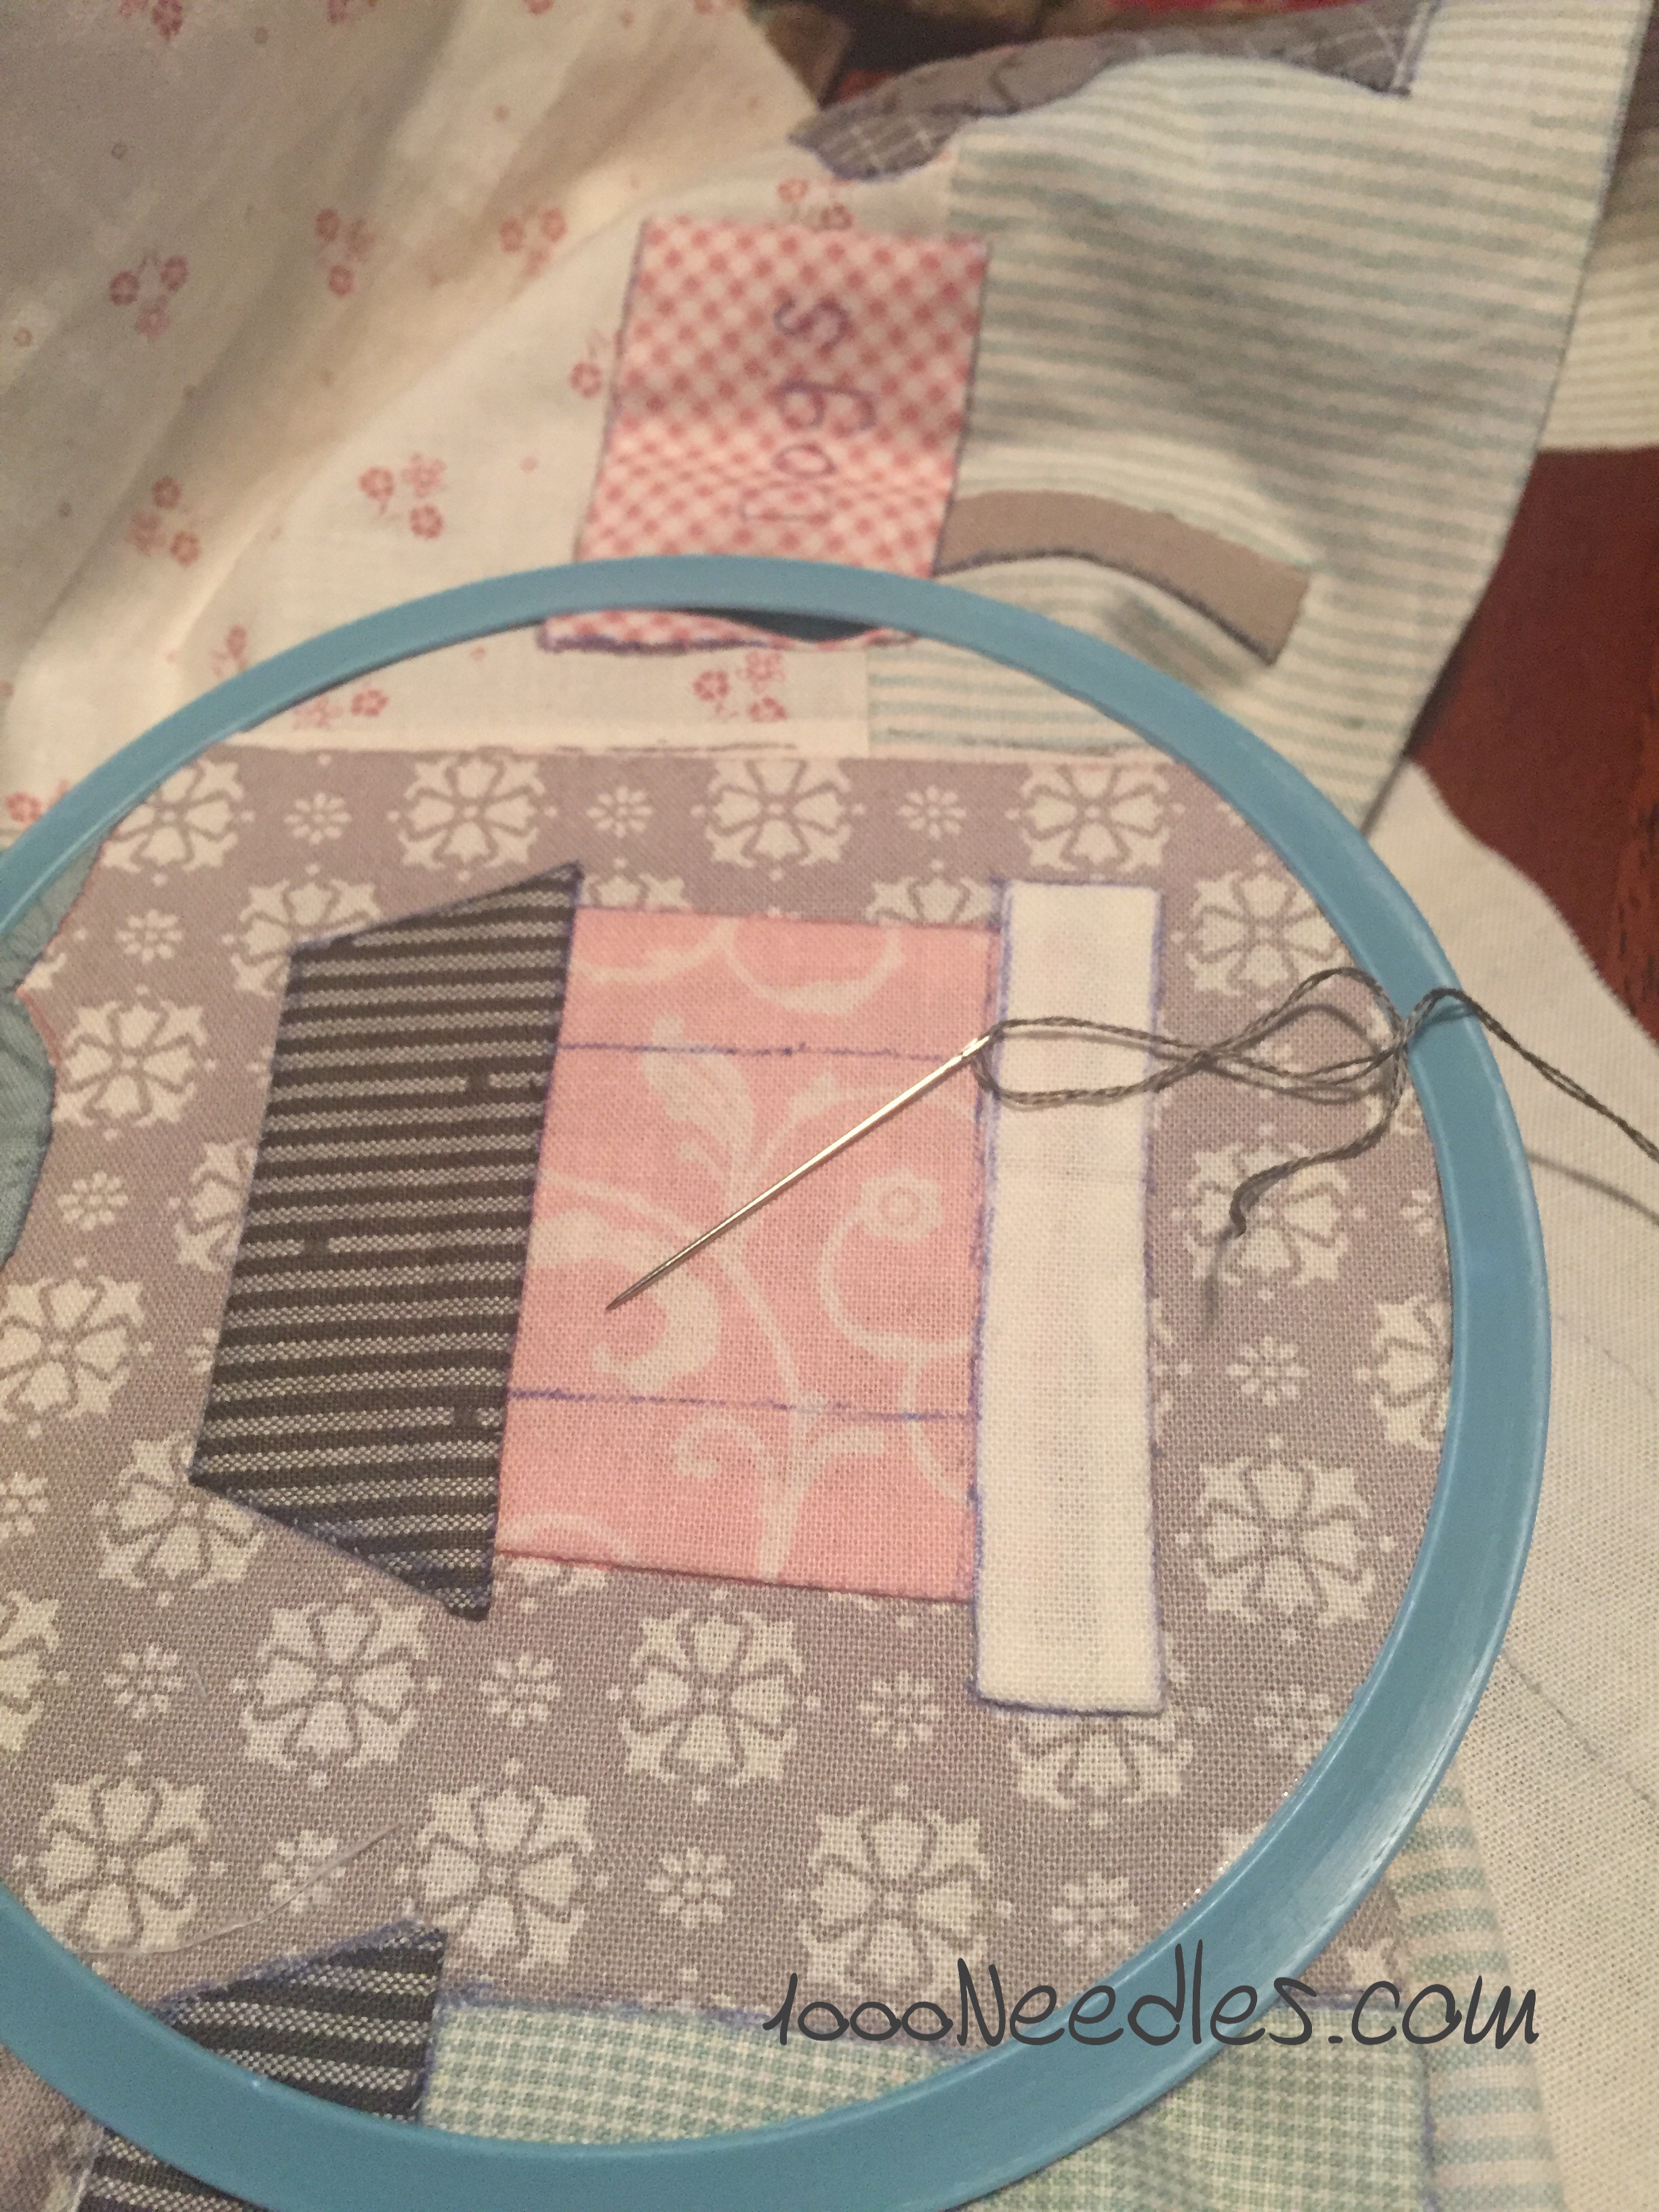
The club is not like how most classes are with a project that we learn and work on in class. We each emailed the instructor our ideas of what we wanted to do and she went from there. Today was mostly an introduction of her talking about thread, needles, hoops, etc. And there were new to embroidery people and more experienced people who knew what to do and just love being with other hand embroidery people. I fall somewhere in between. I’m not new but I am not an expert.

I brought an ornament project that I bought last December during the shops holiday event and my goal is to work on hand embroidery WIPs and once they are done, work on the kits I have.

Here’s my list of projects so I have it somewhere:

  • Ornaments (WIP)
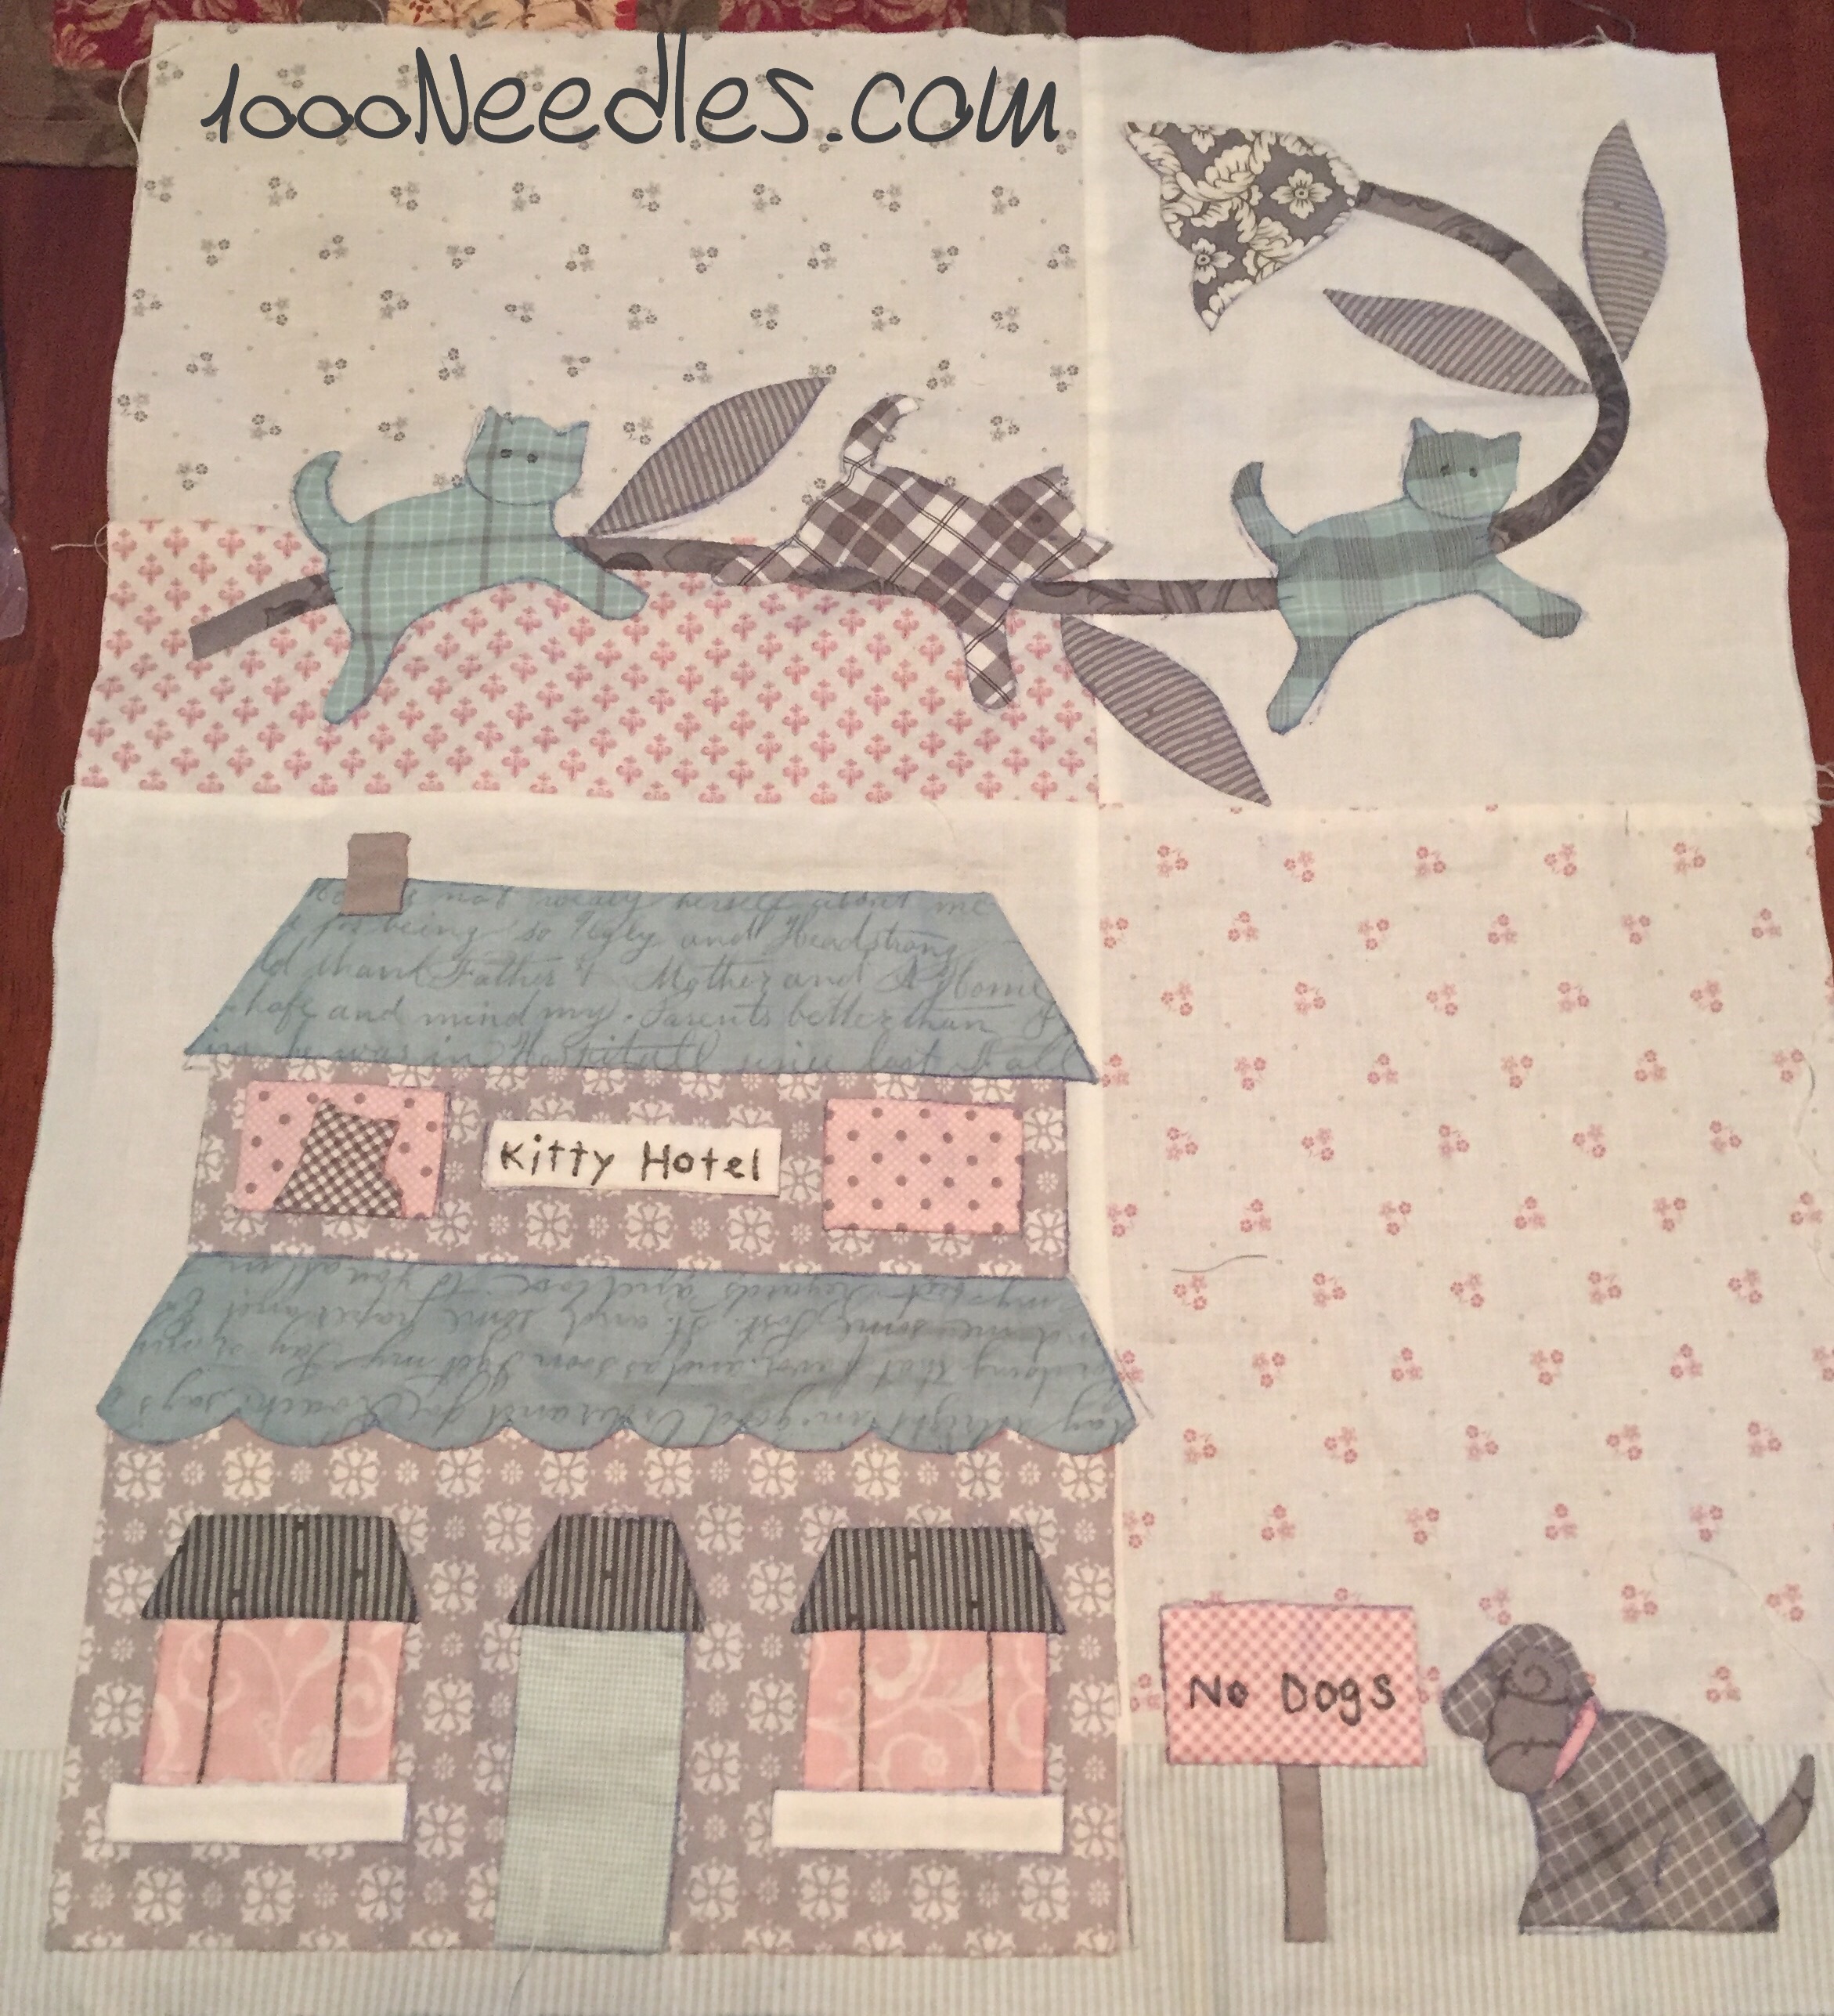
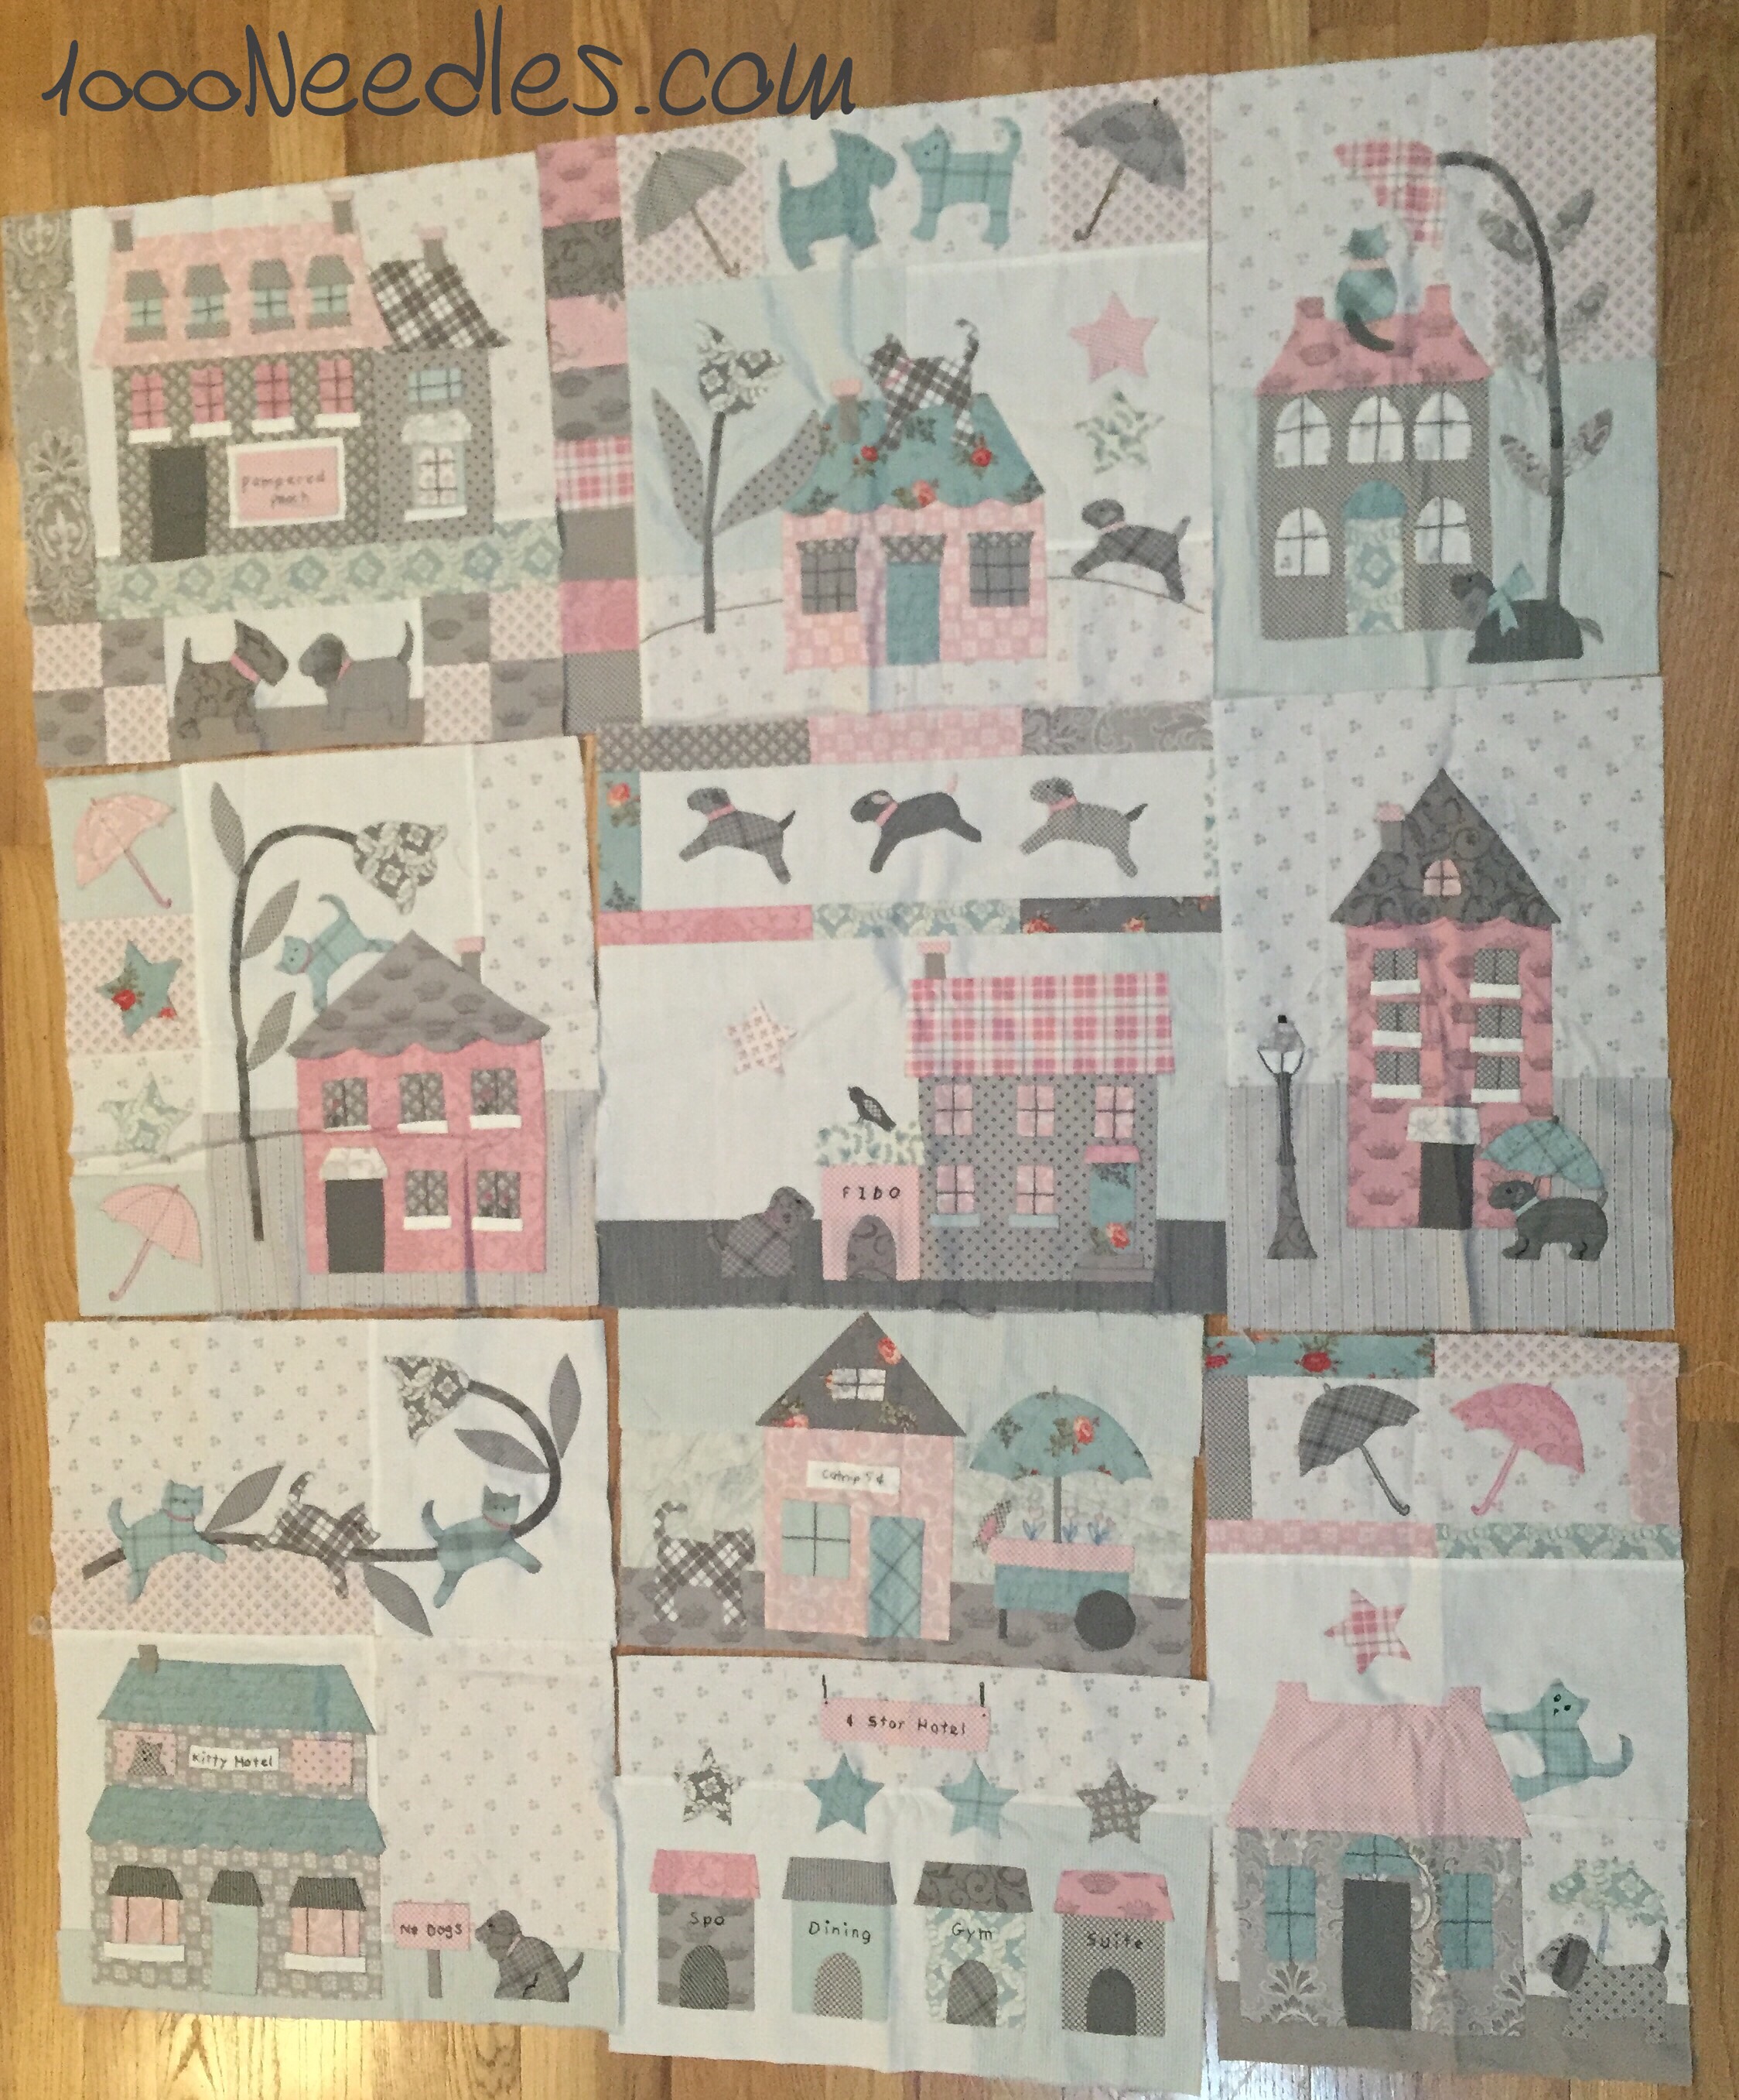
  • Rainbow Garden (WIP)
  • Prairie Days (WIP)
  • Simple Days (WIP)
  • Rusty Crow Mat (kit)
  • Crazy Christmas Quilt (Kit)

And one day, I want to work on something from Sue Spargo and Laura Wasilowski.

I’m excited and I had a great time at today’s class.

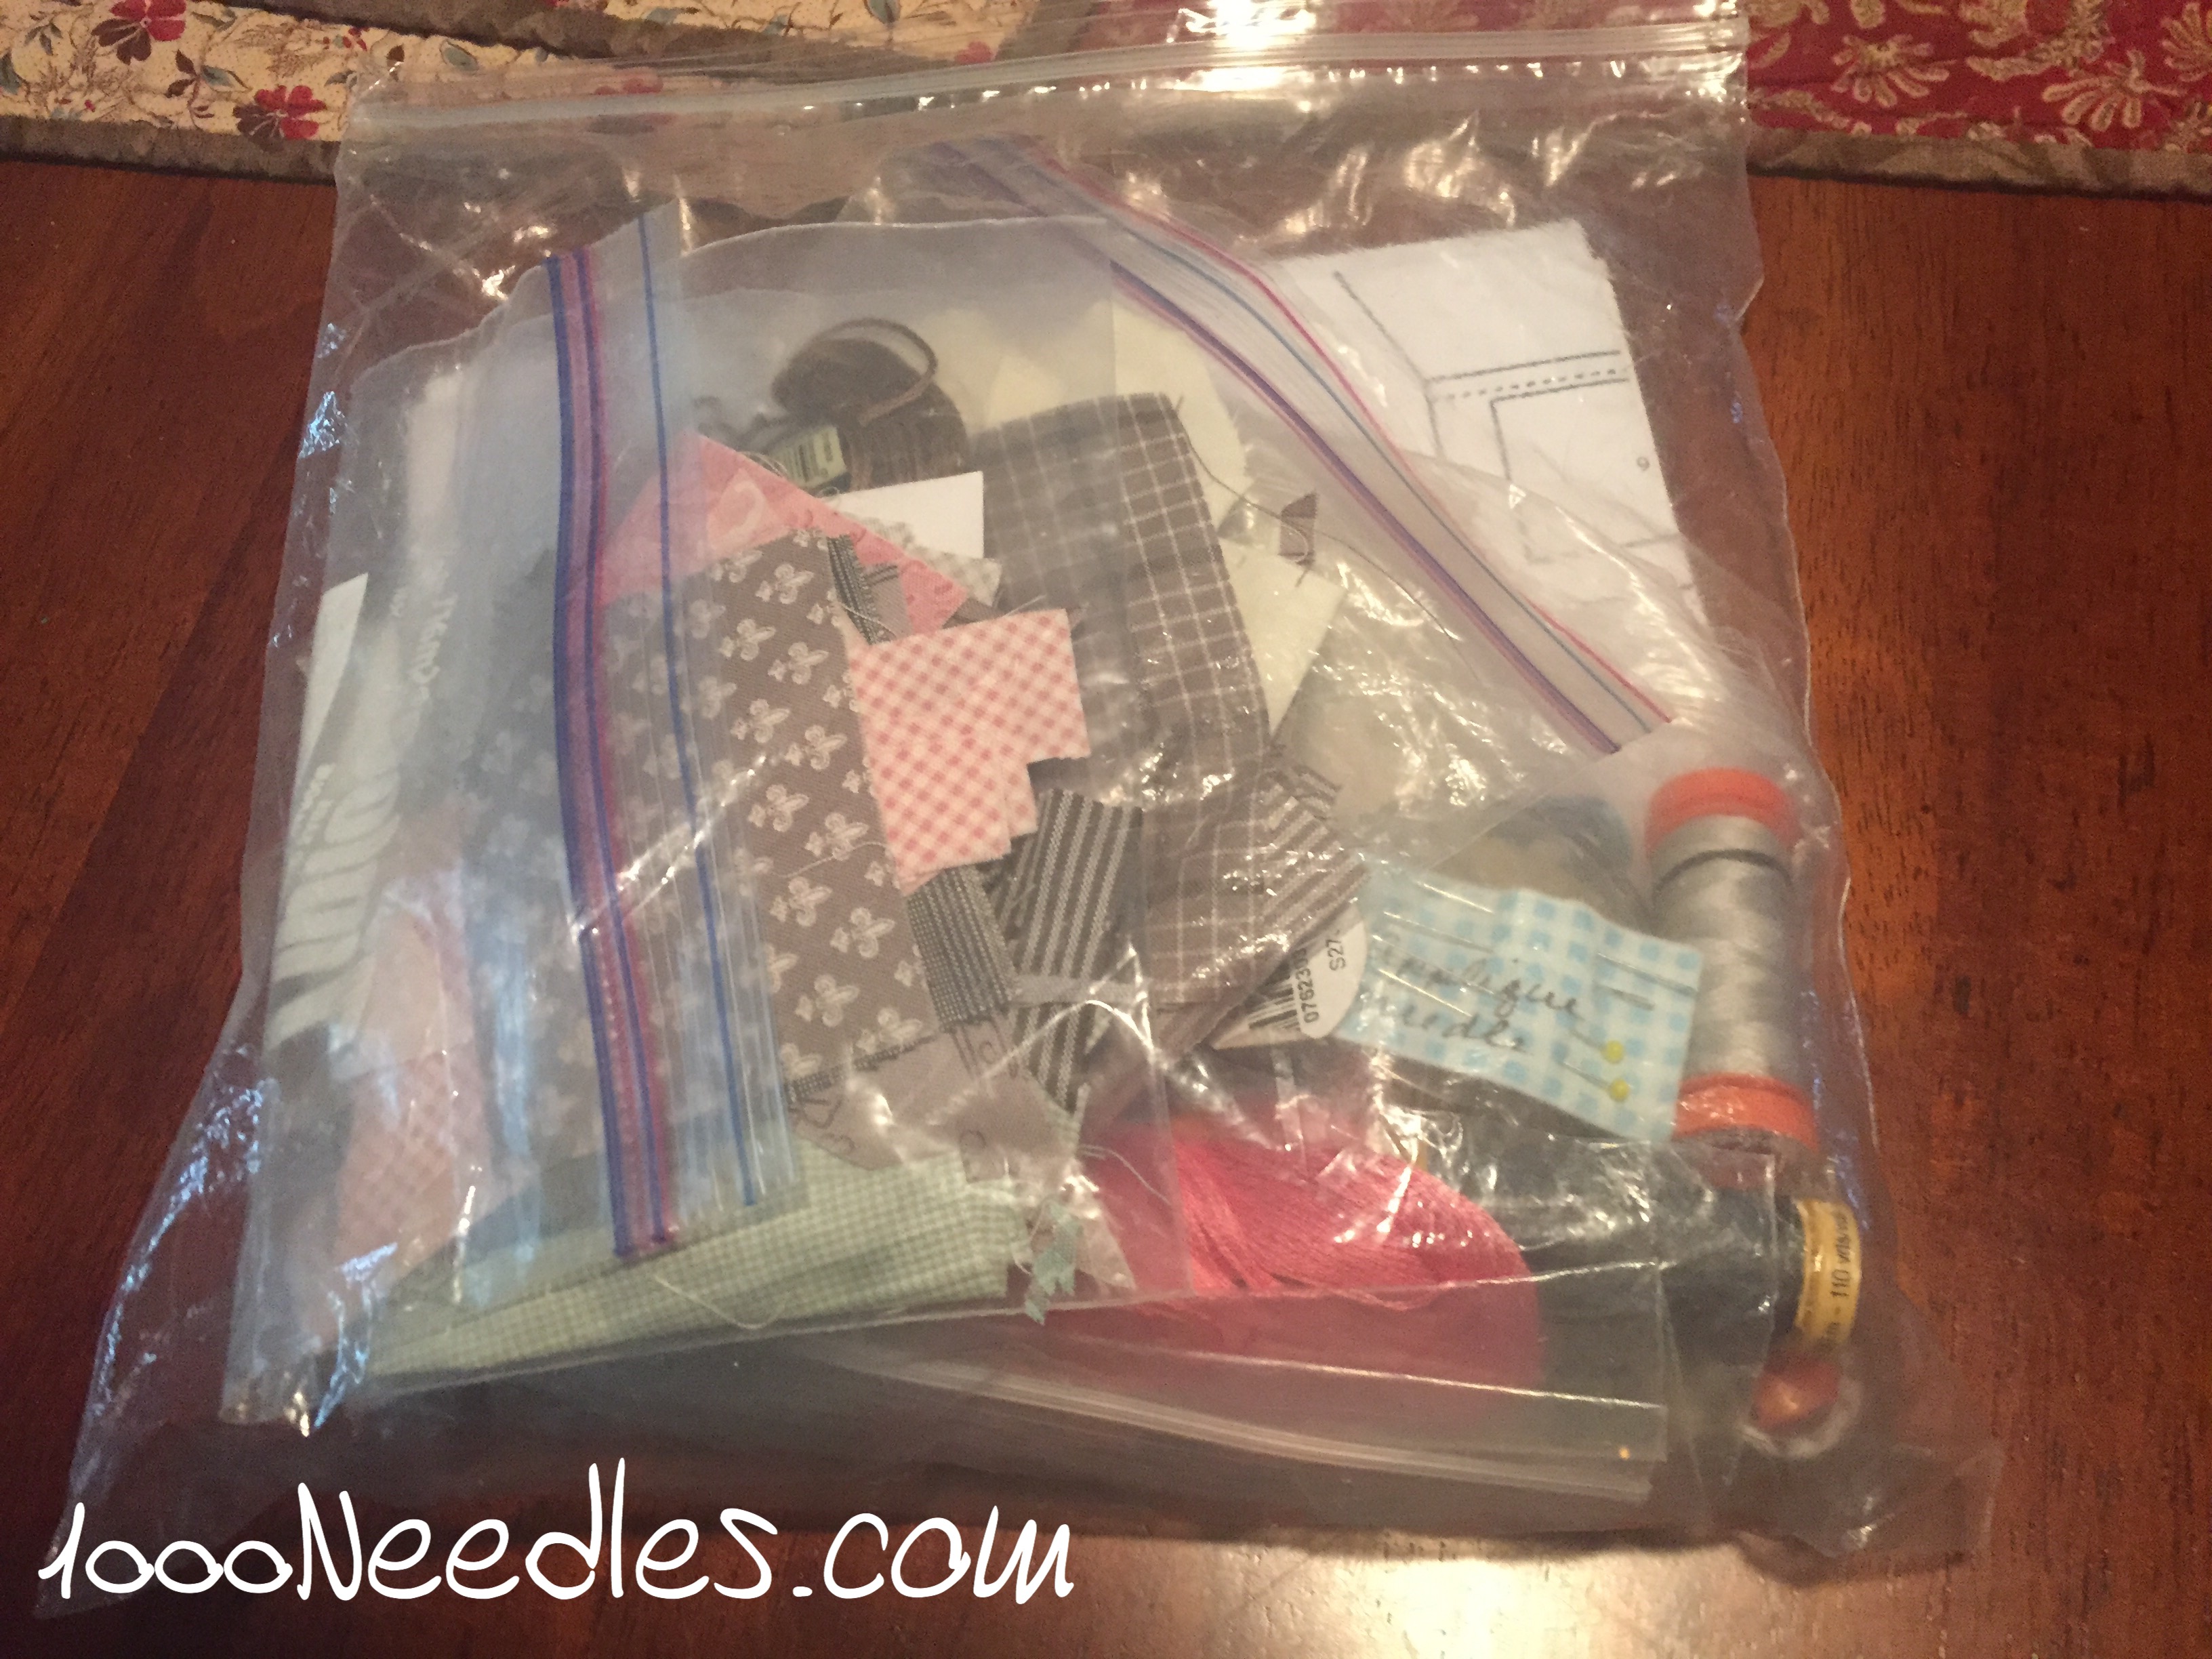
How do you bring your stuff to class? I don’t want to forget anything so I usually have all the stuff for a thing in a bag and when I want to work or bring that project, I just grab that bag. Because I do not embroider as often as I want to outside of my house, I just took the project bag, my hand quilting bag, 2 plastic bins which carry my hand applique supplies. I just didn’t know what I needed exactly and didn’t want to be without. Well, as always, I did forget something – a small embroidery scissors. Luckily my applique bins had a whole bunch of scissors to use.

So, here’s my list as it stands now of what I need for The Stitch Club –

  • the project
  • thread, floss, etc.
  • #24 chenille needles
  • magnetic pin cup – to hold my needles while I’m working as well as a cup to catch all the ORTs. I found a great definition of what an ORT is here.
  • embroidery scissors
  • finger cot
  • thimble

Happy Crafting!

~Melanie

Embroidery – Quilt Labels

img_2527

I’m figuring out how to use the embroidery aspect of Luna (my new Bernina 790).  I was never proficient with the embroidery machine for my Brother but with how much I dropped for Luna I plan to use it as much as possible.  But first, I need a few quilt labels.  My new owner class is not until the end of October.  I need these now so I wasn’t about to wait for the class.  I just made my way over to my dealer and asked them to show me how to set up the embroidery machine and start using it.  They were real nice.  At the shop they use Isacord thread.  I have a lot of Madeira thread that I purchased for my Brother so I’m working with what I have.  I created the one for Hampton Ridge first and the video below shows Luna in action.  Hopefully it works.  When I was able to pull the label off, there were areas where the bottom thread were coming up to the top.  So I took my first piece back to the shop to ask them about it.

  1. Is this how it is supposed to look? Answer: no.
  2. If not, how do I fix it? Answer: adjust the top tension until the bottom thread doesn’t come up to the top.

So I went home and adjusted the top tension from 3.0 to 2.0.  It works like a dream now.

Here are some notes for myself in the future:

  1. Madeira thread breaks a lot on my Bernina so I can’t have it embroider at top speed.  And definitely turn off the jackrabbit (super speed option)!

    That's where the speed lever should be at...

    That’s where the speed lever should be at…

  2. I used the Brother embroidery bobbin thread.  I have about 3 spools of this because I thought I was going to do a lot of embroidery when I bought the Brother machine.  I hardly used it and put it in one of my bobbins to use it now.   I need to remember to use this always until I run out.  Then I can try something else and see what works the best.  I did use 50w Aurifil thread at first because that was in the bobbin and I didn’t see a difference.   Although, using this bobbin thread may have added to my tension issues.
  3. Adjust top tension to 2

That’s all I can remember for now.  I hope to do more embroidery.

Welcome to the family!

img_2347

I got a new machine.  I picked it up from the shop last Thursday and here it is sitting around waiting for me to have the time to unpack it.  You may wonder why I didn’t rip into those boxes and start playing with this lovely thing inside…

bernina 790

But we’ve been busy with kid stuff and an outing scheduled for today.  Back to school night was last Thursday for my son and last night we had the 1st football home game at the girl’s school.  The hubby wants to head out today and enjoy a day trip in Temecula.  Thank goodness it’s a 3 day weekend because I’m claiming tomorrow and Monday as me-days!  I do want to finish quilting Hampton Ridge as I only have to finish 1 side of the main border and then do all 4 sides of the last pieced border.  It’s already set up on my now old machine.

I did trade in 3 machines to get this one.  I said goodbye to:

Bailey Mid Arm 2/7/15

Bailey Mid Arm
2/7/15

It served its purpose this past year and a half.  I bought this machine early in 2015 used from a fellow blogger in Orange County for a great deal.  And I learned a lot.  I enjoyed having my own machine to quilt with and take my time quilting a piece.  I know that if I ever got a long arm (which I’ve gone back and forth on over the last year) I would totally use it.  Thank you Bailey!  In the meantime, while I decide whether I want to get a new long arm or not, I plan to rent time on the long arms in my area.  For Hampton Ridge, I rented the Bernina long arm and IT WAS WONDERFUL.  At least compared to the Bailey.  I hope to do some research and see if there are other rentals available so I can do a good comparison.

Brother

Brother Innov-is NQ3500D

This didn’t serve it’s purpose.  This was the machine I bought because I wanted an embroidery machine and ended up spending way too much money on this.  I didn’t use it fully and I tried but it just took up space.  I brought it out occasionally to embroider things here and there.  I’m a Bernina girl and every time I looked at this machine I remembered that I bought this because I couldn’t afford the Bernina at that time.  In retrospect, I should have just waited.  Thank goodness for being able to trade in our mistakes!  To be fair, there is nothing wrong with this machine.  It’s me not you! 🙂

Kayla's Bernette

Kayla’s Bernette

And finally, Kayla’s bernette is now gone.  I’m most sad and tormented about trading in this little machine.  It was her first and it’s so cute.  She is upgrading to my Bernina 330 so she is not sad about this trade at all.

~happy quilting friends!

~Melanie

Hand work: a finish, woohoo!!!

RAINING CATS AND DOGS!

This week I finished getting all the black embroidered on.  When I started working on it, I realized there wasn’t that much I needed to do so I finished the last bit of embroidery, which was just the pink chain stitched cat collars.

Here’s a pic of where I left off on my last post on this:


img_9290

And here it is now:

Raining Cats And Dogs Block 7 Final 1/24/2016

Raining Cats And Dogs
Block 7
Final
1/24/2016

Here is a close up of the chain stitching:

img_9369


And now all the blocks are finished for Raining Cats and Dogs!  Woohoo!

I posted a pic of all the blocks laid out on my design floor but it’s so lovely, I must post it again! 🙂

Raining Cats and Dogs All blocks laid out on the design floor 1/24/2016

Raining Cats and Dogs
All blocks
laid out on the design floor
1/24/2016

Now the next question… what will I do for hand work now that I’m done with the hand work for Raining Cats and Dogs?  I’ll take a week off to enjoy this moment and ponder this.

~Happy Tuesday!

Melanie

Hand work, an update

RAINING CATS AND DOGS!

This week I got all the gray part embroidered on.

Here’s a pic of where I left off on my last post on this:

img_9254

And here it is now:

img_9290

In addition to the window, I have all the words finished and the blue cats’ eyes satin stitched on.

Here are some close ups:

img_9288


img_9289


img_9291

Not sure if the pics help any but there you are.  Next step is to embroider the black parts.

~Happy Tuesday!

Melanie

Hand work

RAINING CATS AND DOGS!

I’m working on the embroidery part of the final block of Raining Cats and Dogs!  I’m so close to being finished, I can smell it! 🙂

I like to have my little projects in these work baggies.  They could be ziploc bags or, since this project started out as a BOM and each month came in a bag, I just used the bag it came in.


img_9250

It makes it handy to store, handy to grab and go, etc.  Everything I need is in the little bag.  All the thread for the project.  The correct needles (I have one for applique and another one for embroidery.)  And I have my applique scissors.  I love little scissors.  I usually keep my eye out whenever I go to a quilt shop or show for cute ones to add to my collection.  I have a bunch just stashed in projects around.  It’s always such a treat when I find one in a project I hadn’t worked on in awhile.  Something to know when keeping bags… I’ve heard it’s not good to keep fabric in bags for an extensive length of time.  I don’t know if it’s true but I do know it’s true for photos so I imagine it might be true for fabric too.  This is why I only keep current projects in bags.  I know I’ll be working on it pretty regularly.  All of my UFOs that I’m not currently working on are in bins.

img_9251

I take all the crap out of the bag and get myself organized.

img_9252

I found this blue plastic hoop at a shop while doing the SoCal quilt run last year and I absolutely love it.  I used the wooden ones forever and screwing the thing on and off was a nuisance.  It wasn’t a big deal but when I saw this hoop, it is just a squeeze to put on and a squeeze to take off.  I had to get it to try it out.

img_9256

Here’s a picture of it when it isn’t on a project. As you can see, simple squeeze of those metal things and it easily goes on and off.  I only have 1 so I keep transferring it between projects.  Maybe if I happen to remember and see it again, I’ll buy another so I don’t have to keep moving it between my cross stitch project and my hand embroidery project. 🙂  It is absolutely worth  the $6 or so I spent on it.

img_9253

Here’s a close up of the tiny stem stitch that the project called for.  I’m not an expert on embroidery but with this BOM I’ve used tiny stem stitch, satin stitch, and the running stitch a lot.  I think those are the ones I’m most familiar with.  Any others and I need to check it out on youtube and practice before I attempt it on my projects.

img_9254

And here’s the final block so far with both windows embroidered…

img_9255

… a close up of my work…

~Happy Tuesday!

Melanie

Monday Madness – 5/11/2015

Machine Applique with Annie Smith  Sample 5/10/2015

Machine Applique with Annie Smith
Sample
5/10/2015

For Mother’s Day I spent the day at my guild’s workshop with Annie Smith learning how to do a different variation of Machine Applique.  I love the look of applique and I have done a fair amount of hand applique.  For machine applique, I’ve only done a raw edge technique with Laurel Anderson. You can see that attempt here.  That project is still a UFO.  I really should finish that one soon as I believe there is only the border part that needs to be quilted.  Anyway, this mother’s day Annie Smith taught us the technique to use the blanket stitch on our machines.  I wasn’t able to finish but as you can see above I was able to applique down the orange center and the green leaves.

Here’s a close up:

Machine Applique with Annie Smith  Close up of Sample 5/10/2015

Machine Applique with Annie Smith
Close up of Sample
5/10/2015

On Saturday I meant to spend time in my sewing room to finish the backing for Tell It To The Stars.  But the hubby surprised me for Mother’s Day with cold hard cash to do with as I wished.  After spending some time figure out what I wanted, I ended up going to the sewing machine shop and I ended up coming home with this:


New Machine

New Machine – 5/09/2015

I know I don’t need another machine and I do not know how to use it yet but plan on going to the shop these next few weeks to learn how to embroider.  I do not know what I’m going to make but it will be something.  You may recall I took my Bernina in to be serviced.  Earlier in the week I picked it up and while I was at the shop drooled over the embroidery machines.  I was thinking all week about them and how much they were and running figures in my head to see if I could swing it.  By the end of the week I had decided against it and told myself to revisit it later.  The hubby truly surprised me with his gift.

Scrapitude 2015 Clue #4 5/7/2015

Scrapitude 2015
Clue #4
5/7/2015

For BOMs Away Monday and Design Wall Monday – I’ve still got Scrapitude up.  The final clue is released on Tuesday so I’ll be working on that this week.  Monday, I’ve got Annie Smith’s presentation with the guild.   Tuesday, it’s my turn to take the boy to baseball practice.  He’s got a game on Wednesday and I believe, Thursday is the first day I’ll be able to go to the shop to learn how to use the new machine.  I need a name for it.. any ideas?

Check out more finished BOMs at  and design walls at Patchworktimes.com and Cooking Up Quilts

Have a great week!

~Melanie