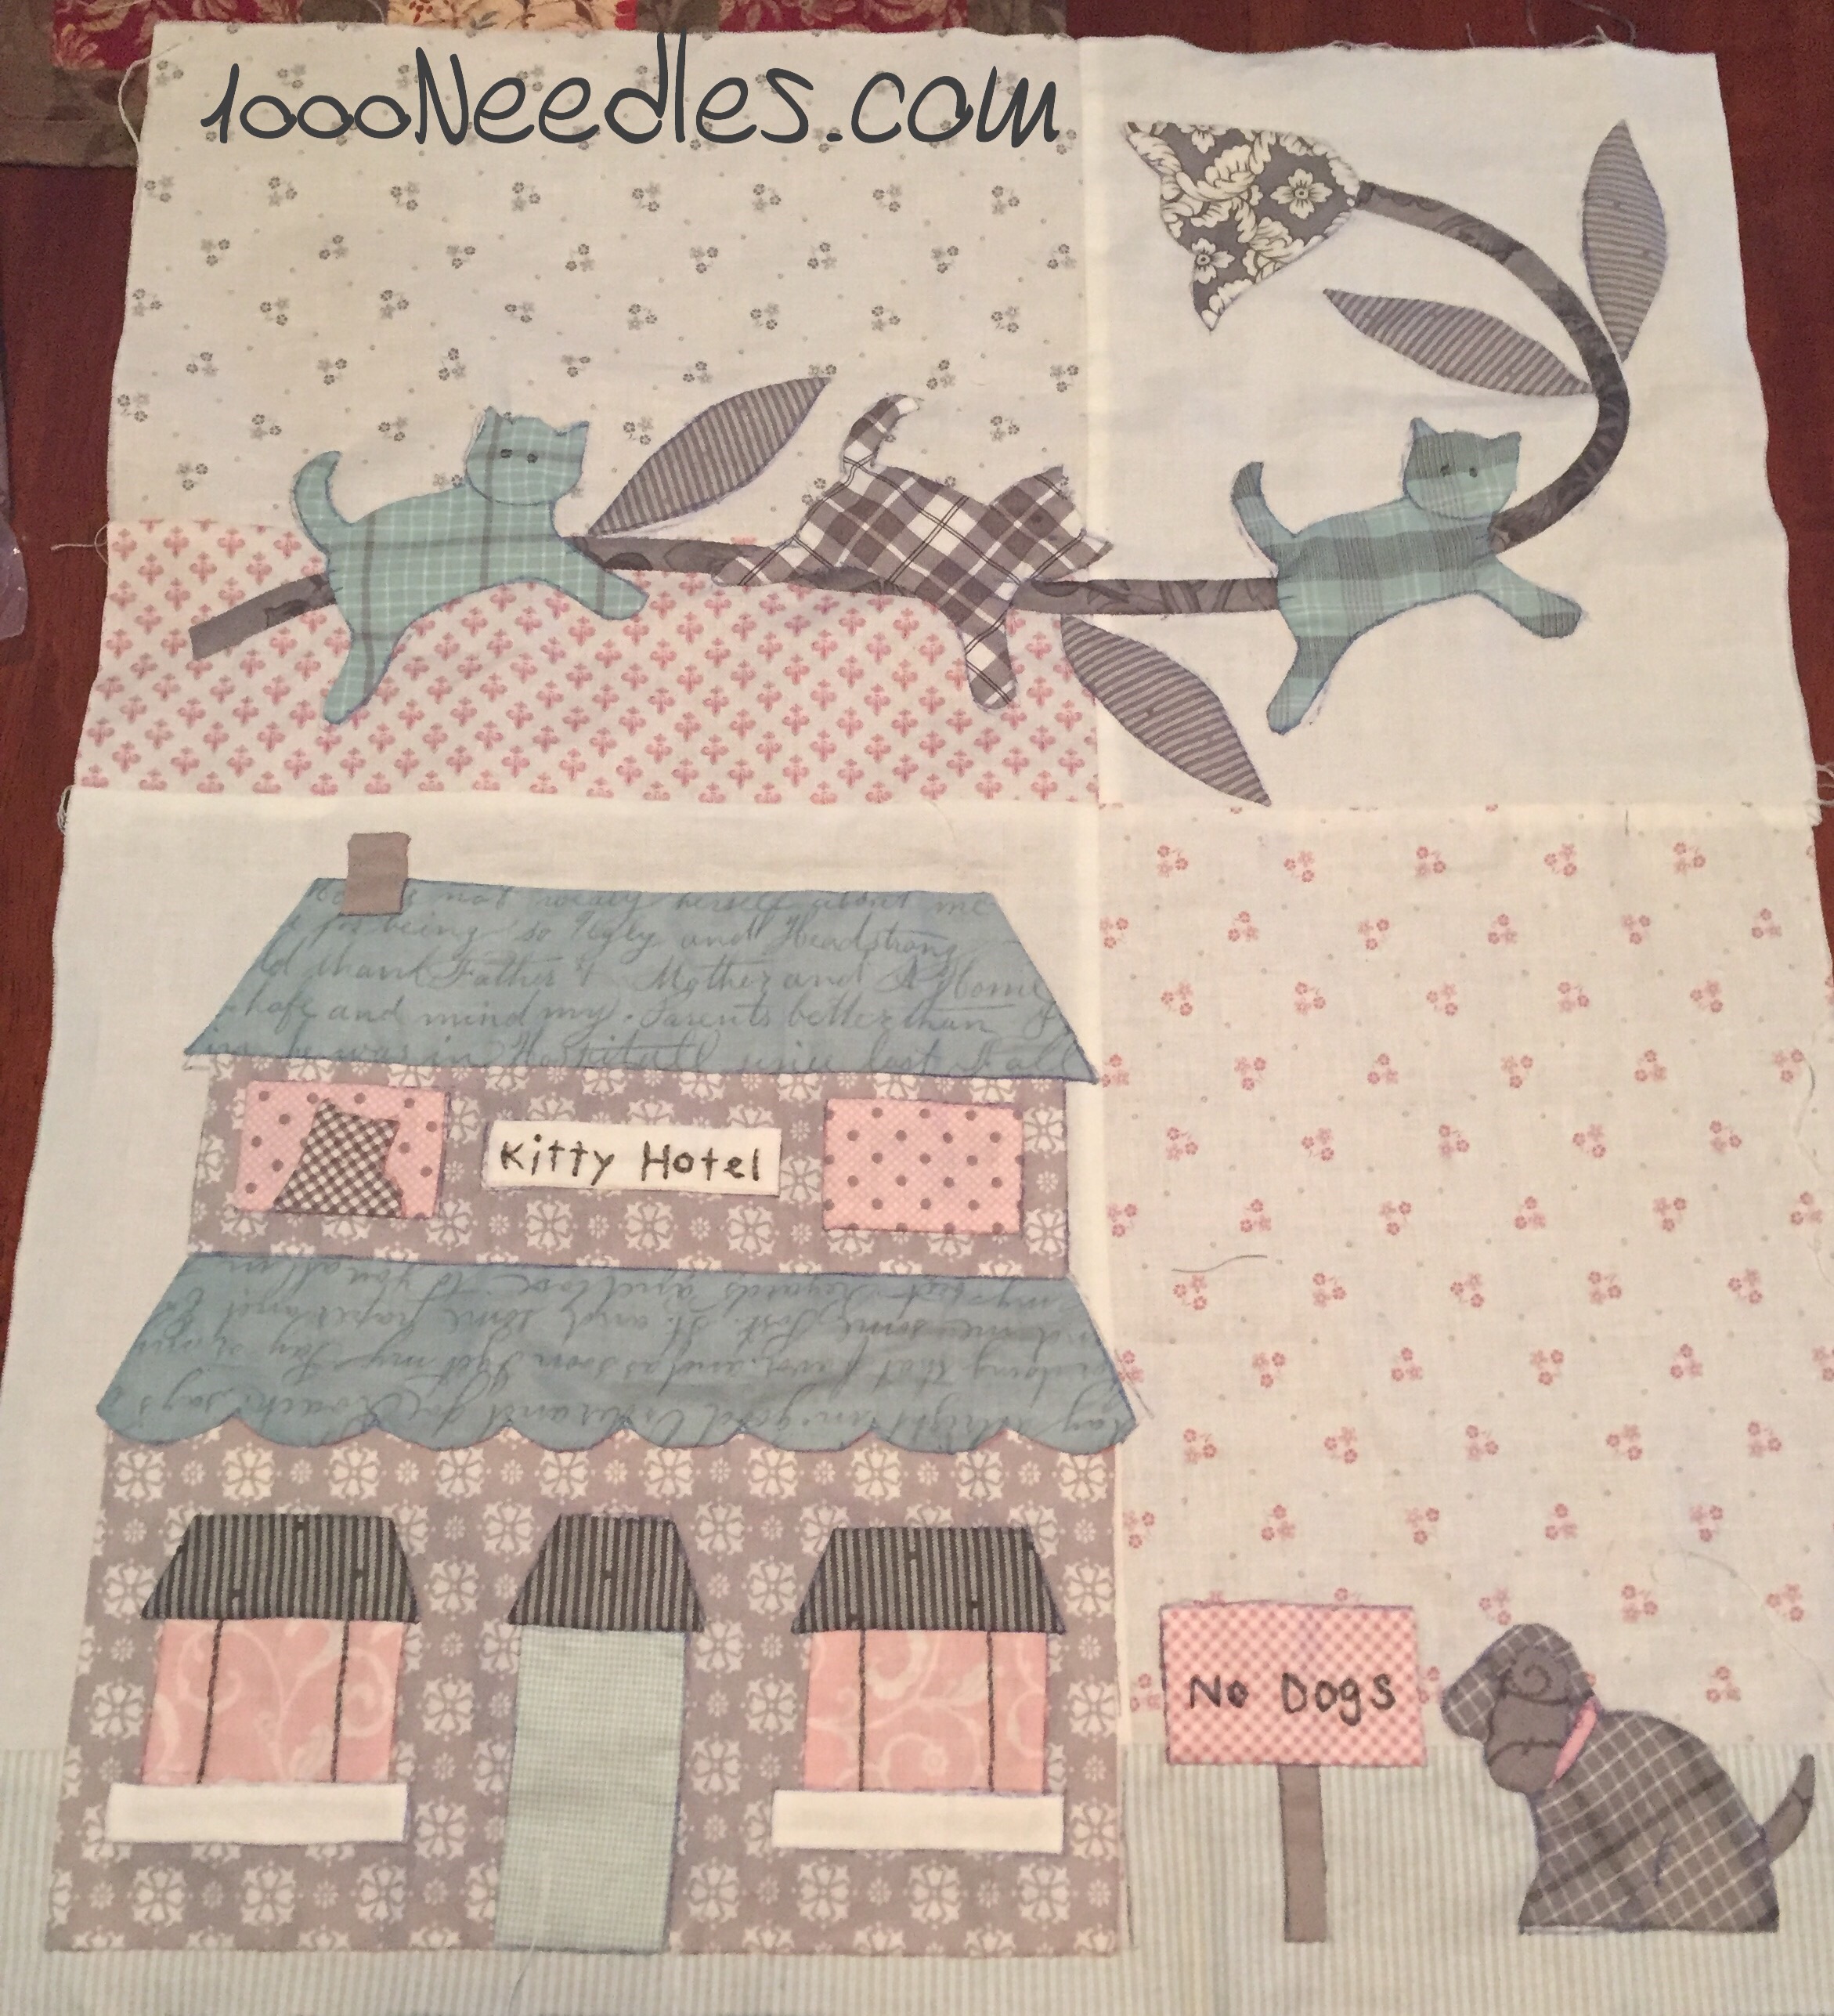
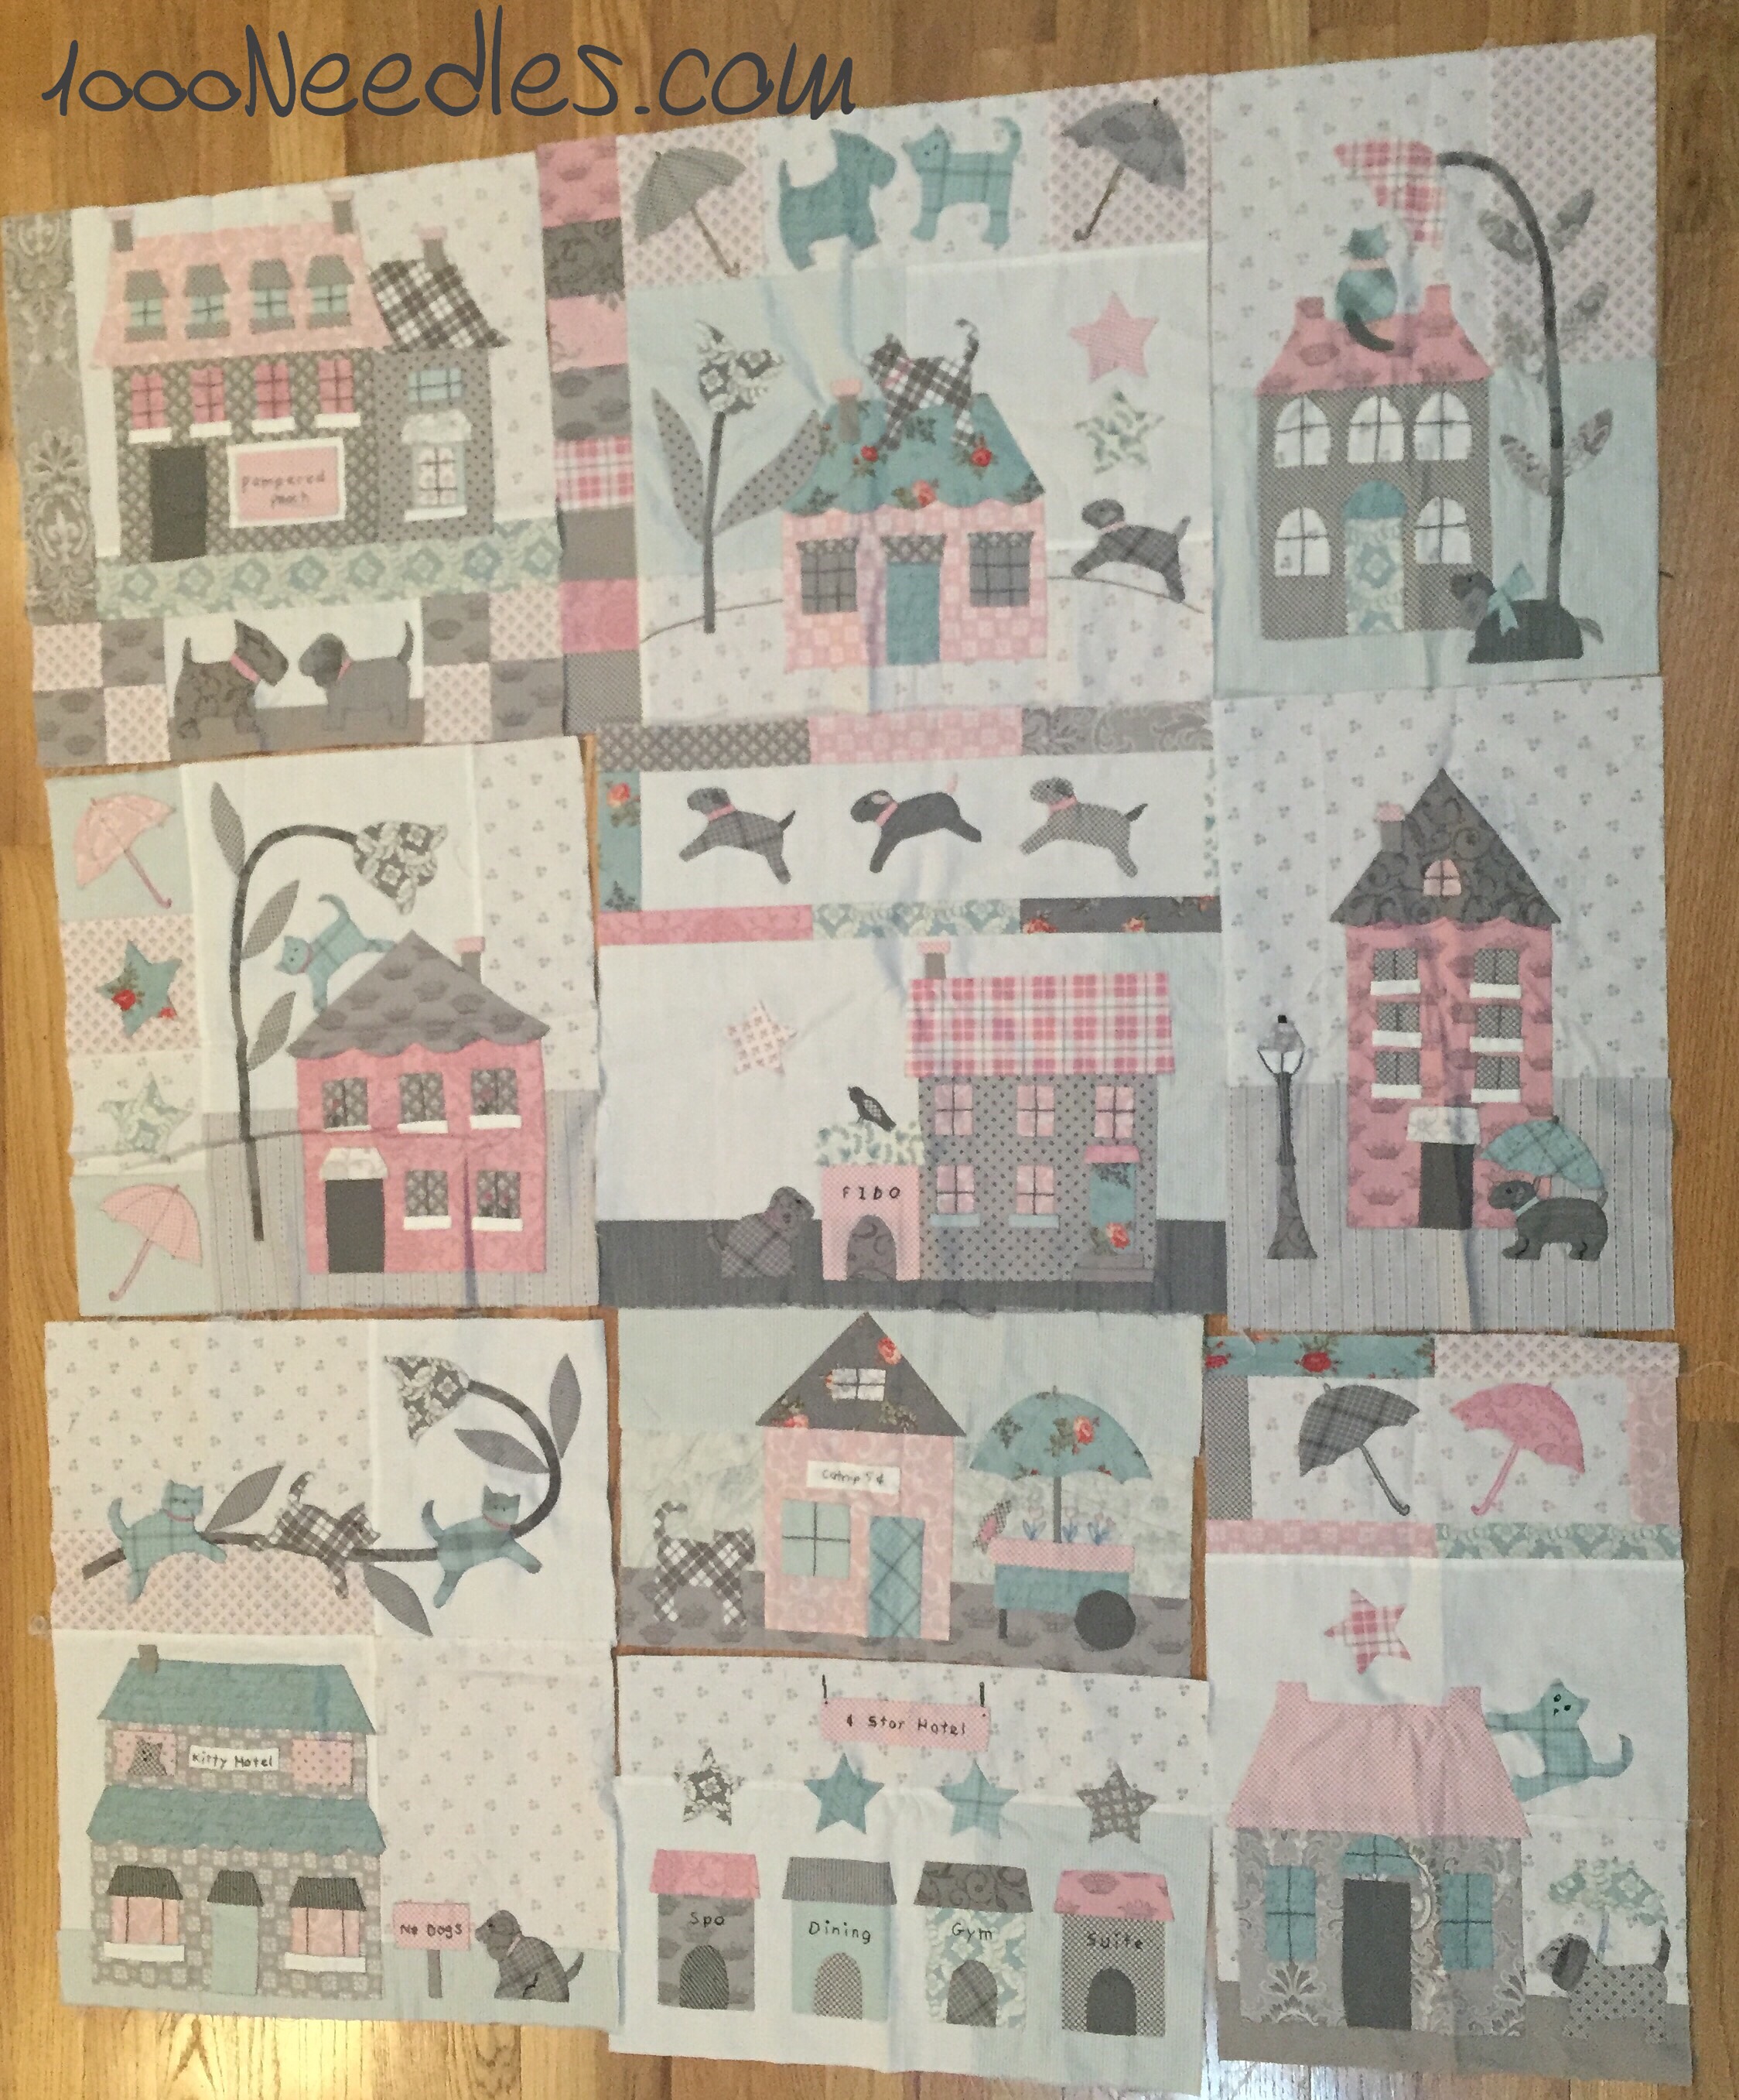
RAINING CATS AND DOGS!
I’m working on the embroidery part of the final block of Raining Cats and Dogs! I’m so close to being finished, I can smell it! 🙂
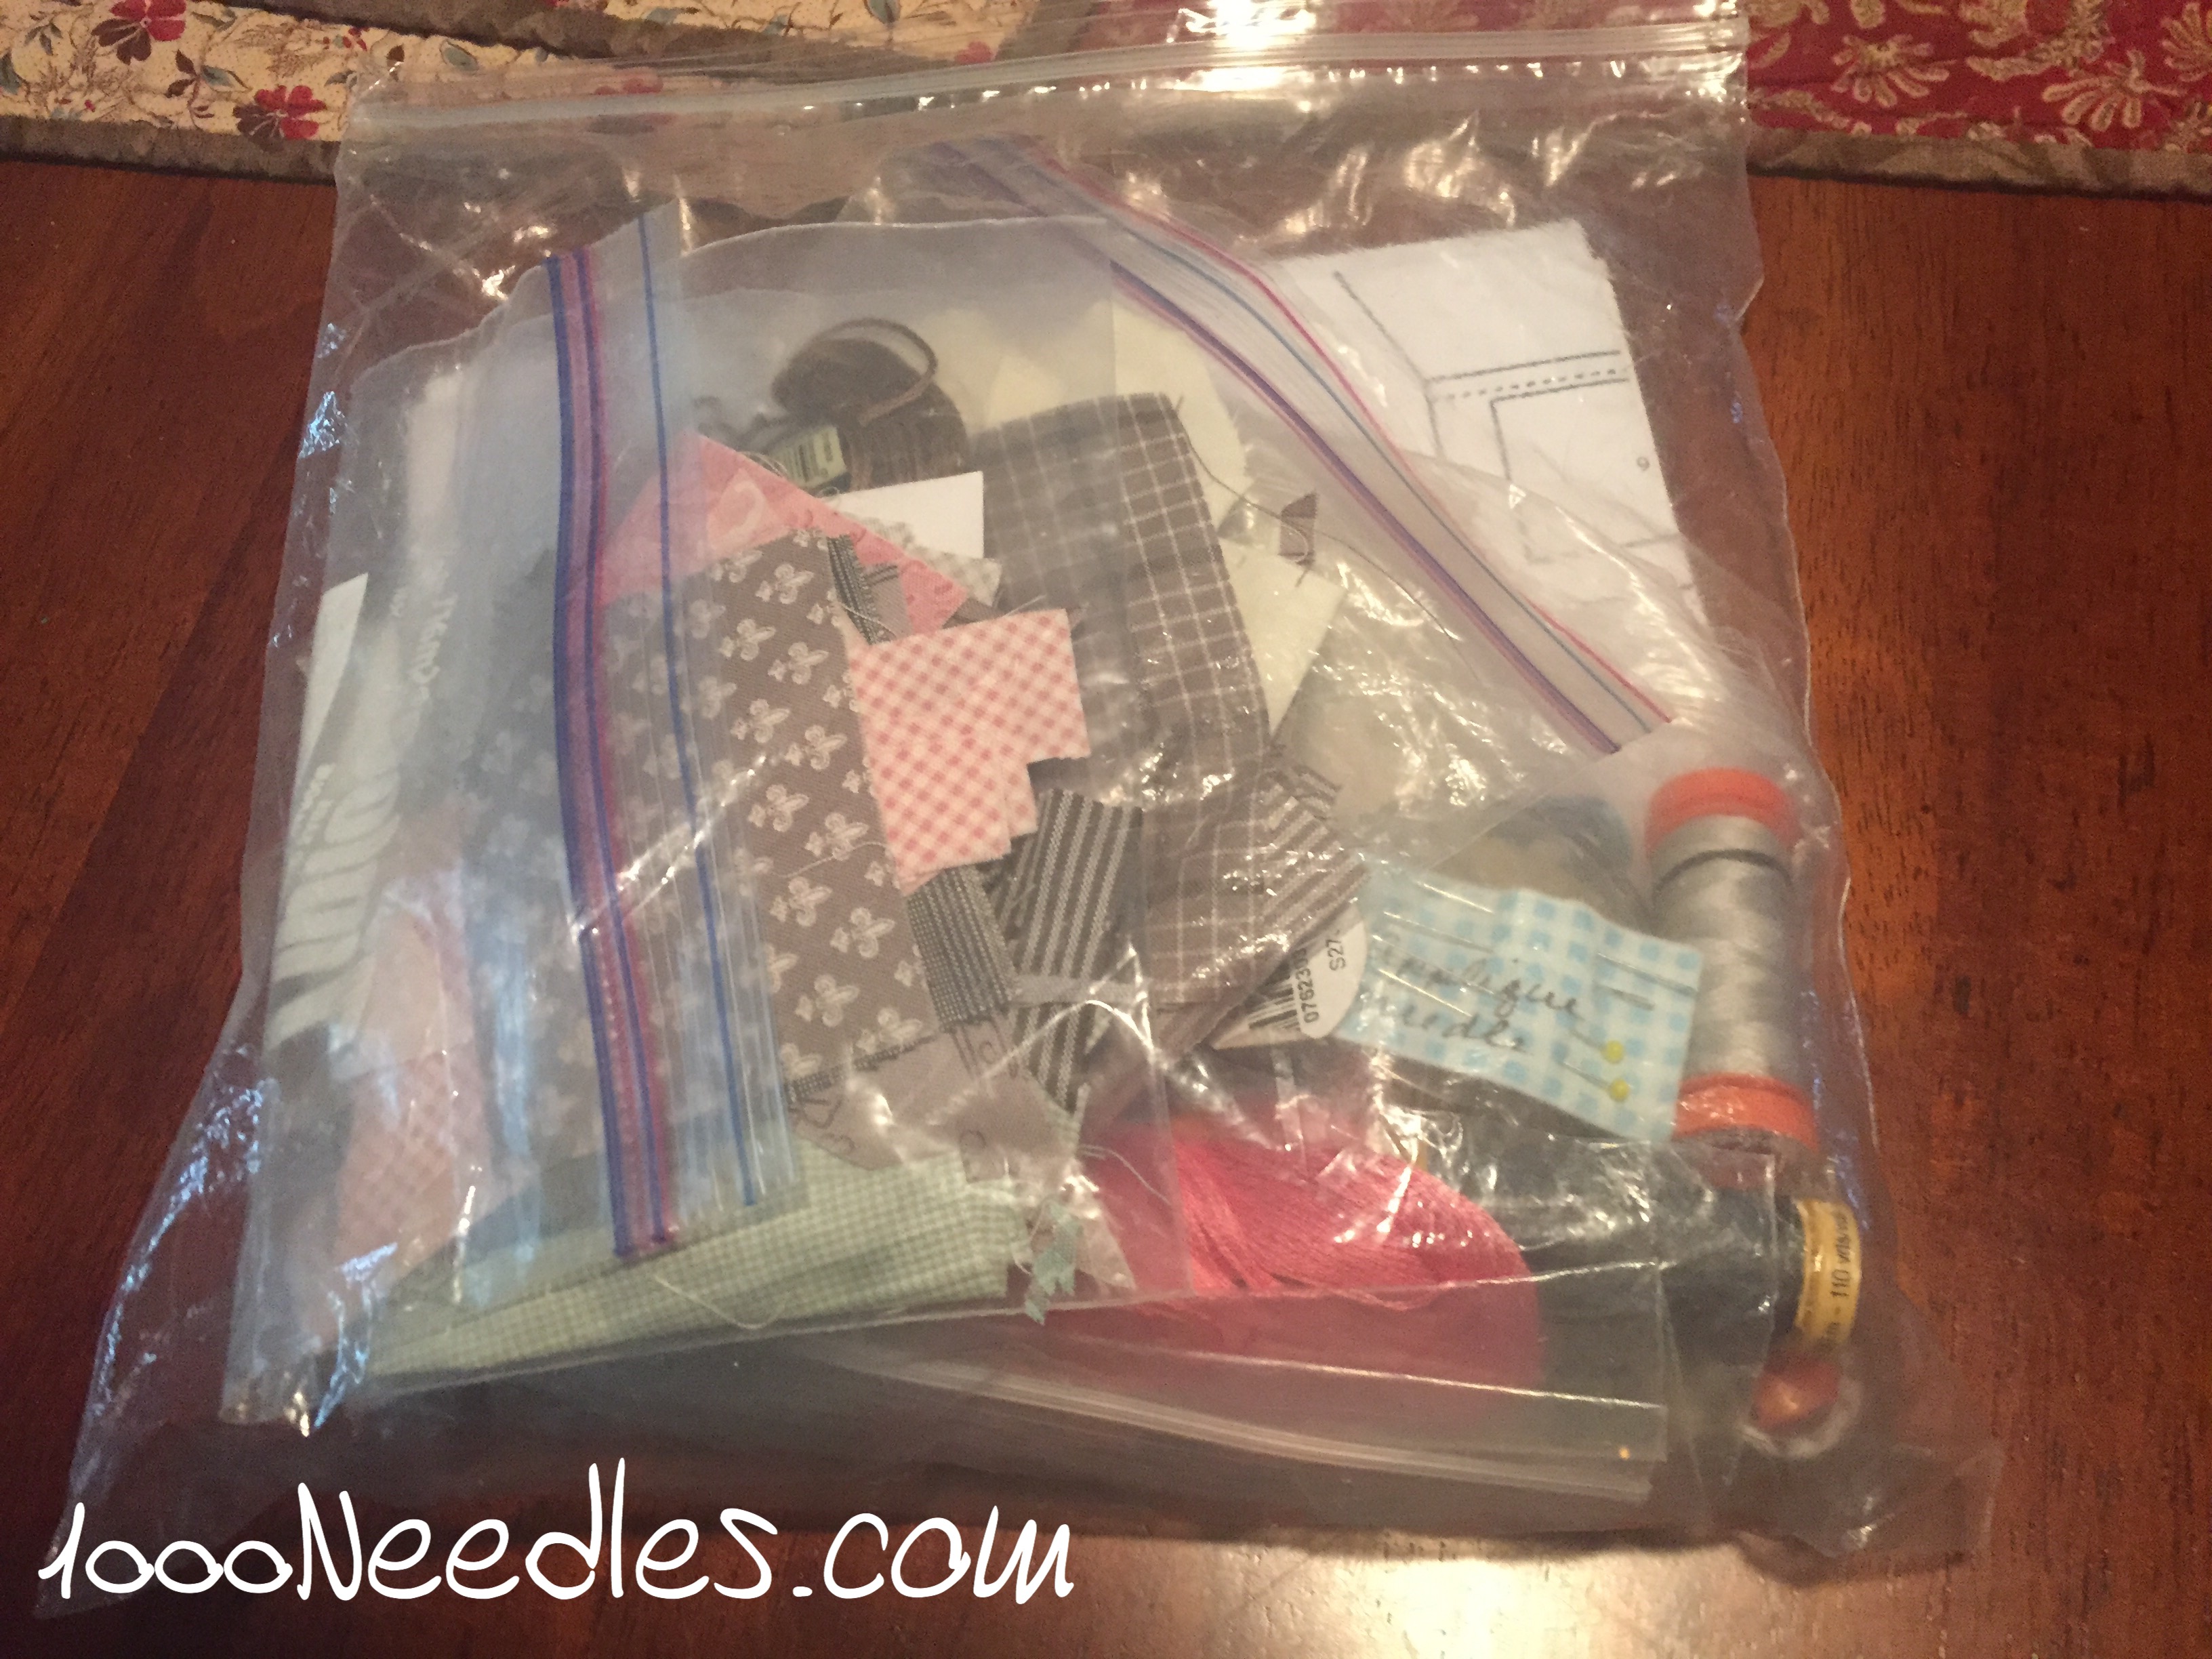
I like to have my little projects in these work baggies. They could be ziploc bags or, since this project started out as a BOM and each month came in a bag, I just used the bag it came in.

It makes it handy to store, handy to grab and go, etc. Everything I need is in the little bag. All the thread for the project. The correct needles (I have one for applique and another one for embroidery.) And I have my applique scissors. I love little scissors. I usually keep my eye out whenever I go to a quilt shop or show for cute ones to add to my collection. I have a bunch just stashed in projects around. It’s always such a treat when I find one in a project I hadn’t worked on in awhile. Something to know when keeping bags… I’ve heard it’s not good to keep fabric in bags for an extensive length of time. I don’t know if it’s true but I do know it’s true for photos so I imagine it might be true for fabric too. This is why I only keep current projects in bags. I know I’ll be working on it pretty regularly. All of my UFOs that I’m not currently working on are in bins.

I take all the crap out of the bag and get myself organized.

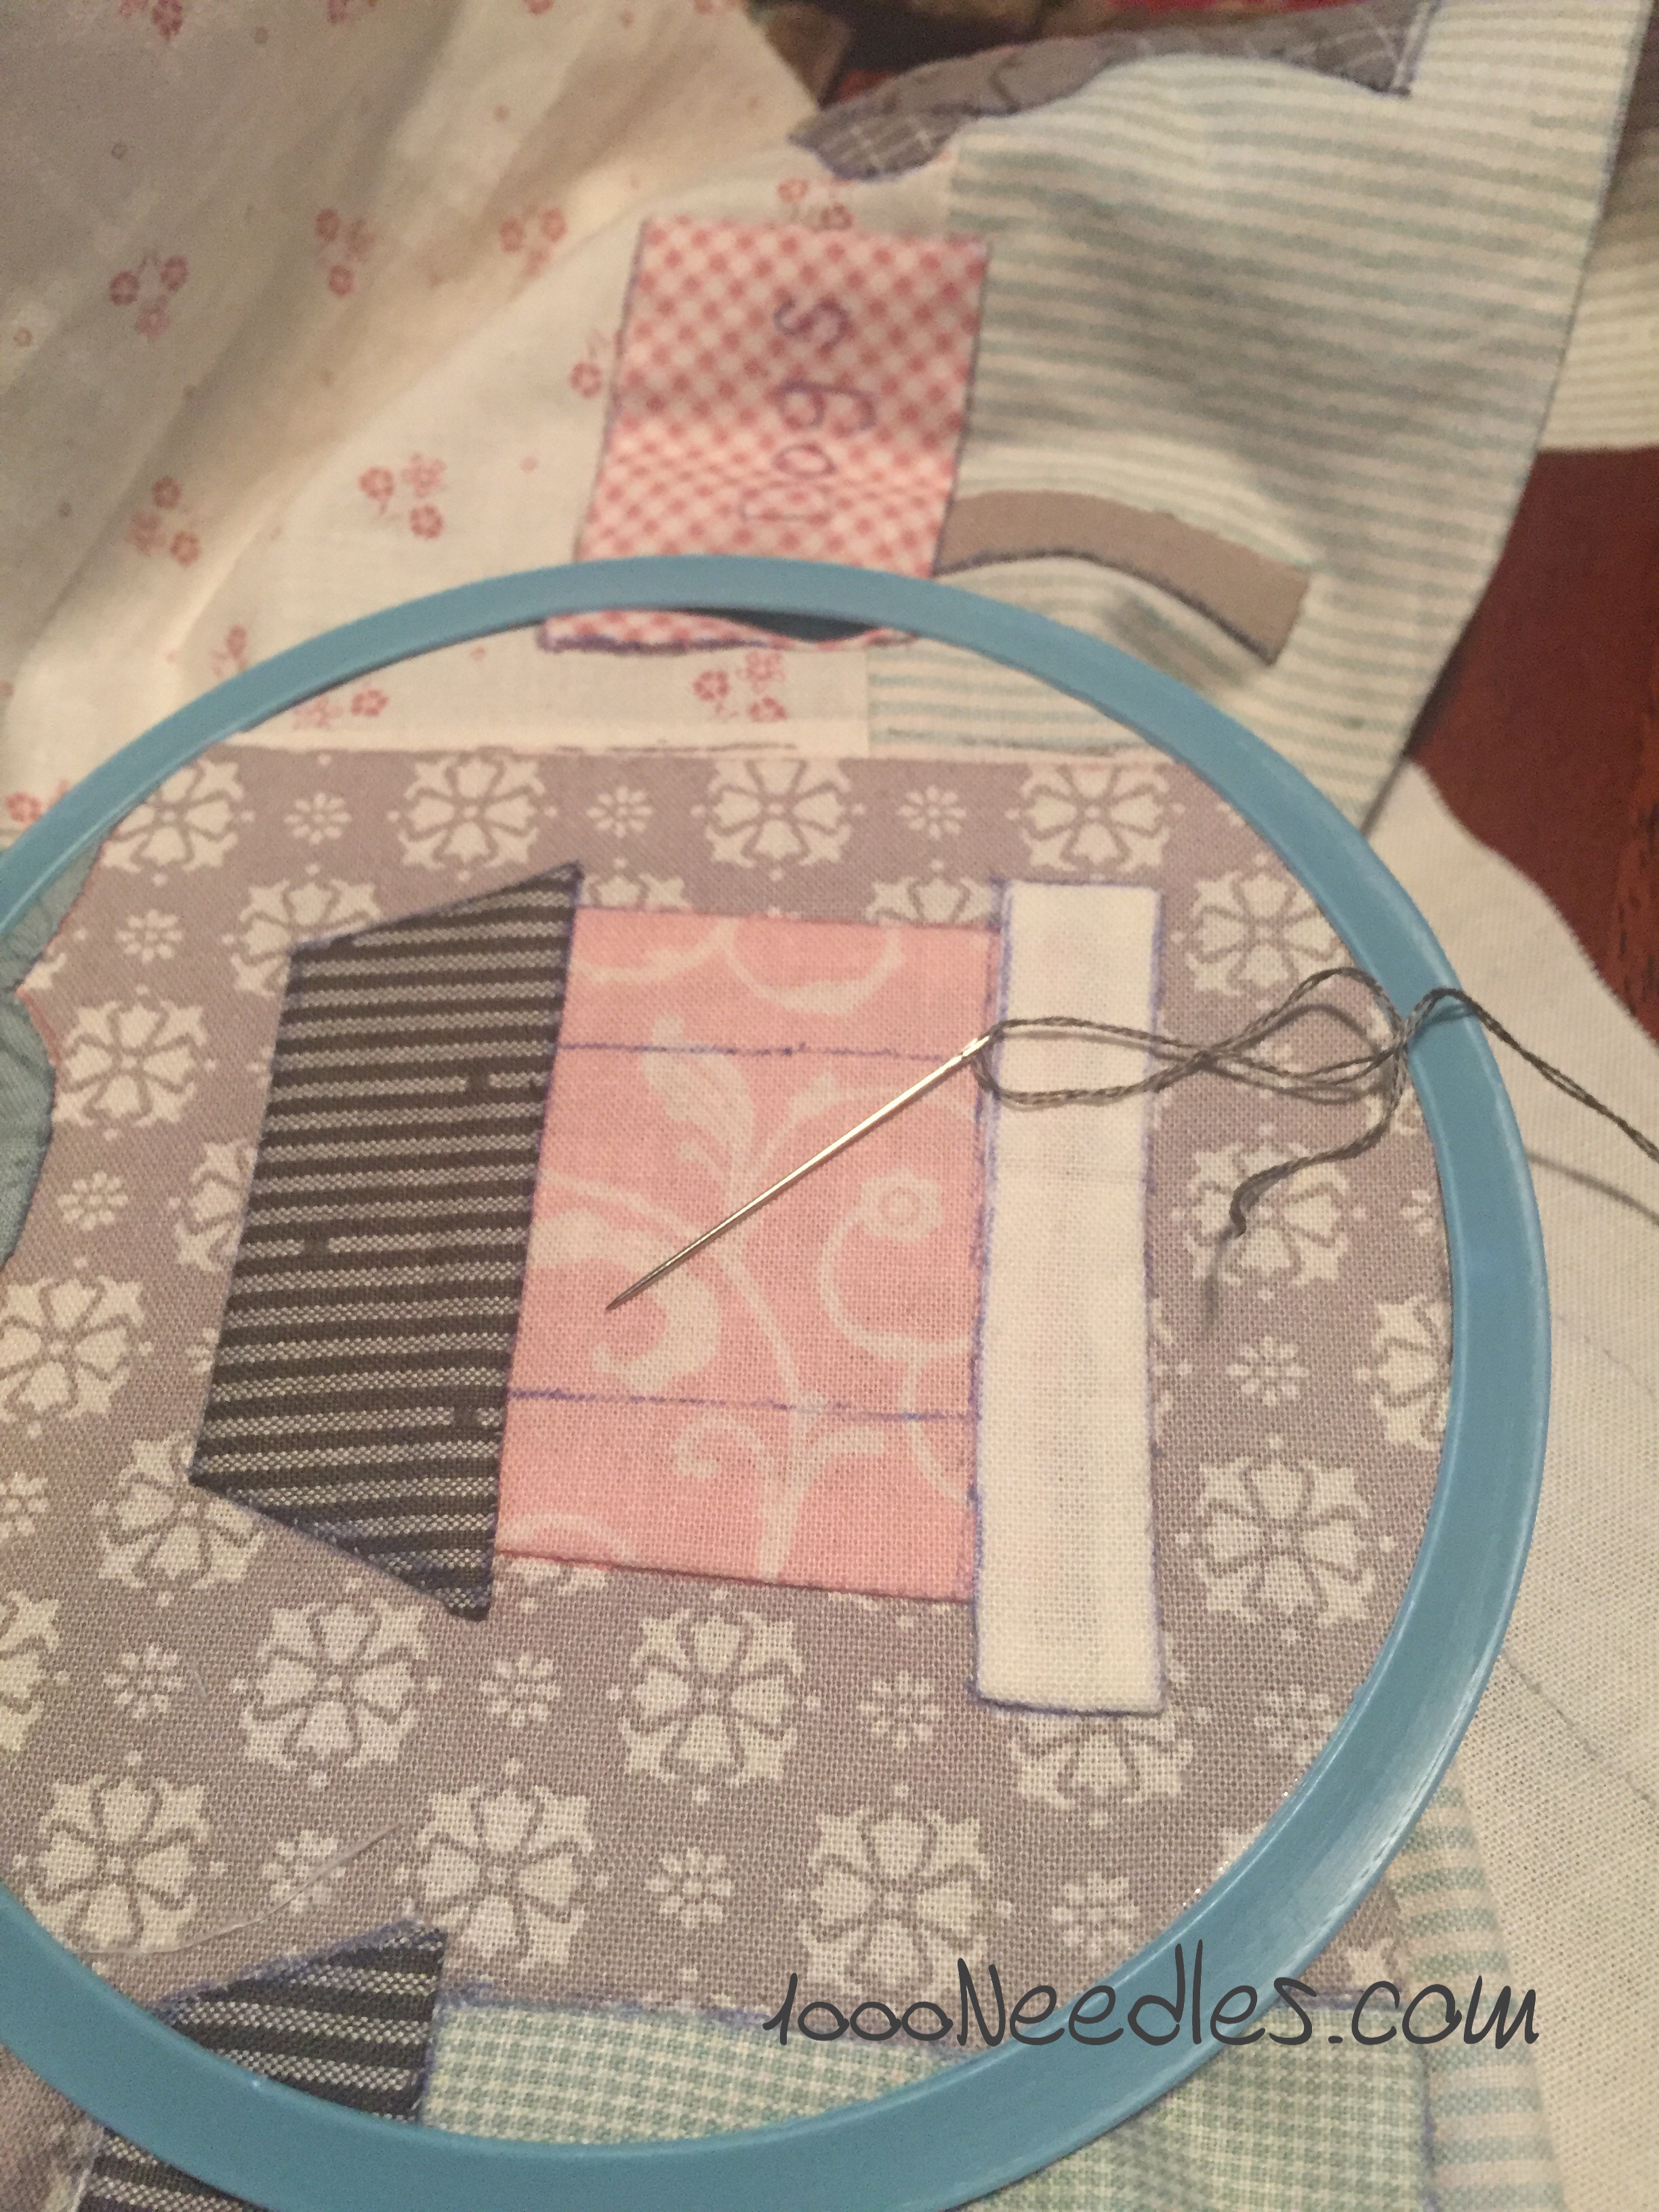
I found this blue plastic hoop at a shop while doing the SoCal quilt run last year and I absolutely love it. I used the wooden ones forever and screwing the thing on and off was a nuisance. It wasn’t a big deal but when I saw this hoop, it is just a squeeze to put on and a squeeze to take off. I had to get it to try it out.

Here’s a picture of it when it isn’t on a project. As you can see, simple squeeze of those metal things and it easily goes on and off. I only have 1 so I keep transferring it between projects. Maybe if I happen to remember and see it again, I’ll buy another so I don’t have to keep moving it between my cross stitch project and my hand embroidery project. 🙂 It is absolutely worth the $6 or so I spent on it.

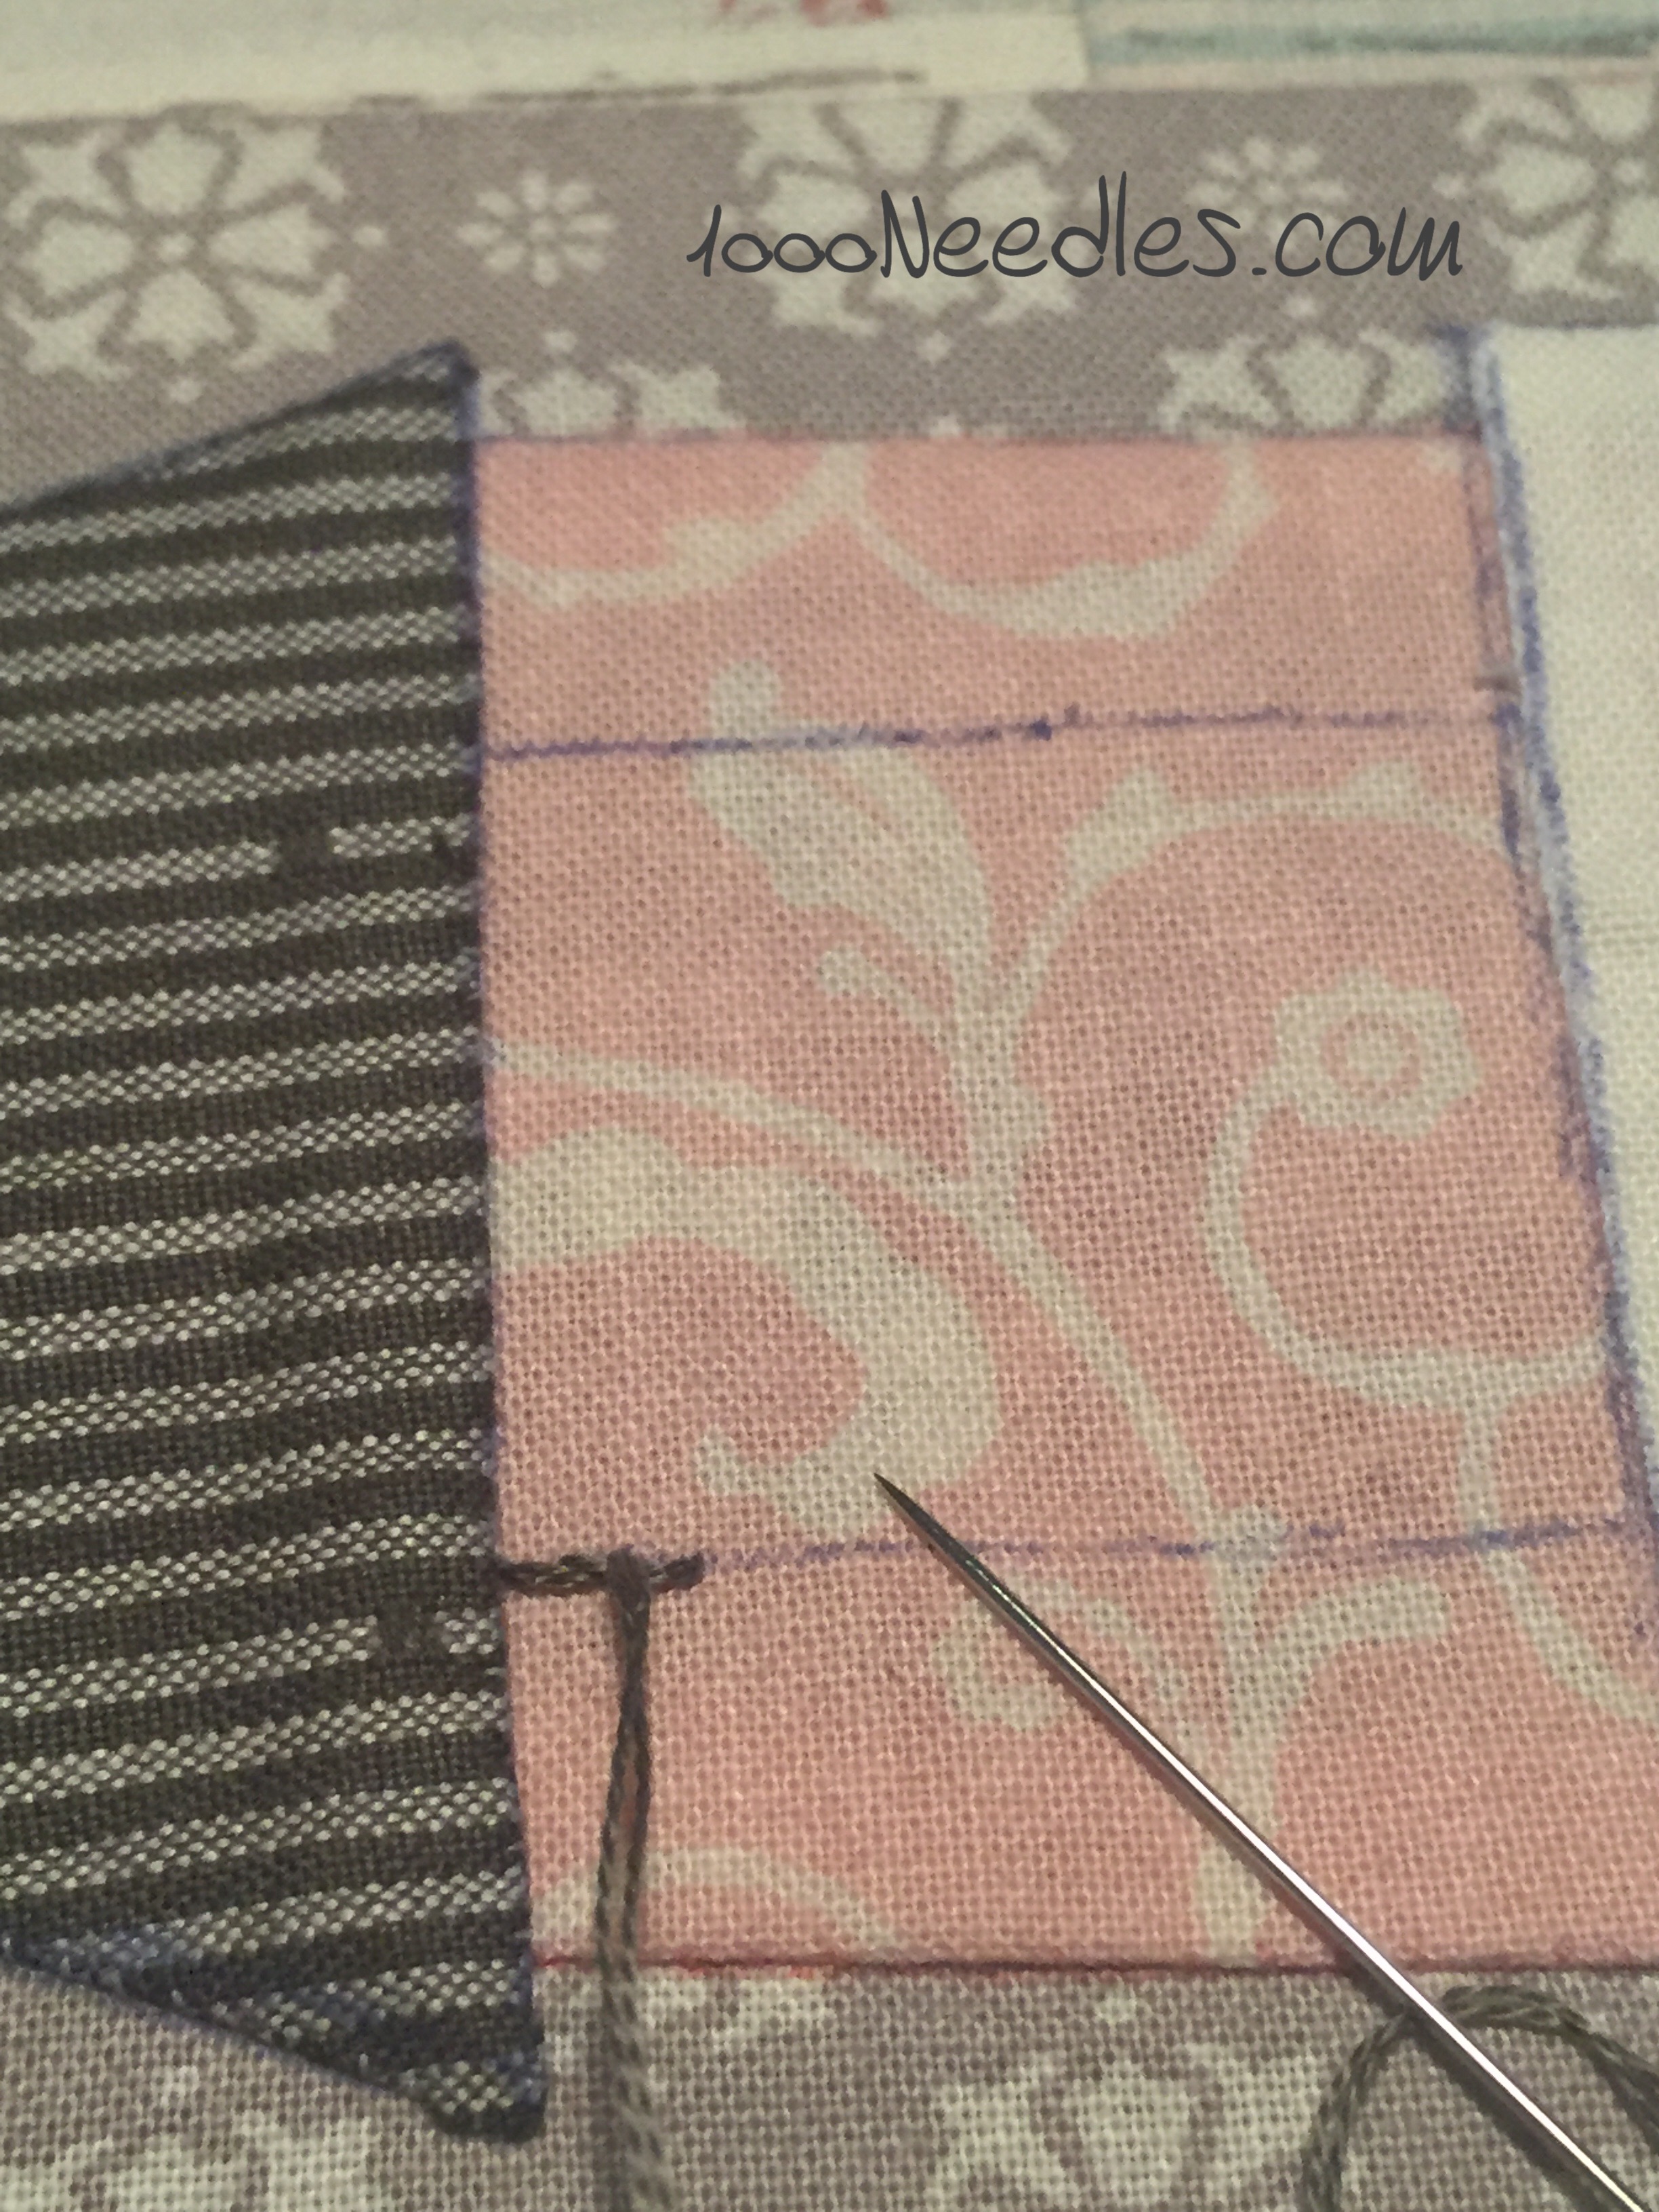
Here’s a close up of the tiny stem stitch that the project called for. I’m not an expert on embroidery but with this BOM I’ve used tiny stem stitch, satin stitch, and the running stitch a lot. I think those are the ones I’m most familiar with. Any others and I need to check it out on youtube and practice before I attempt it on my projects.

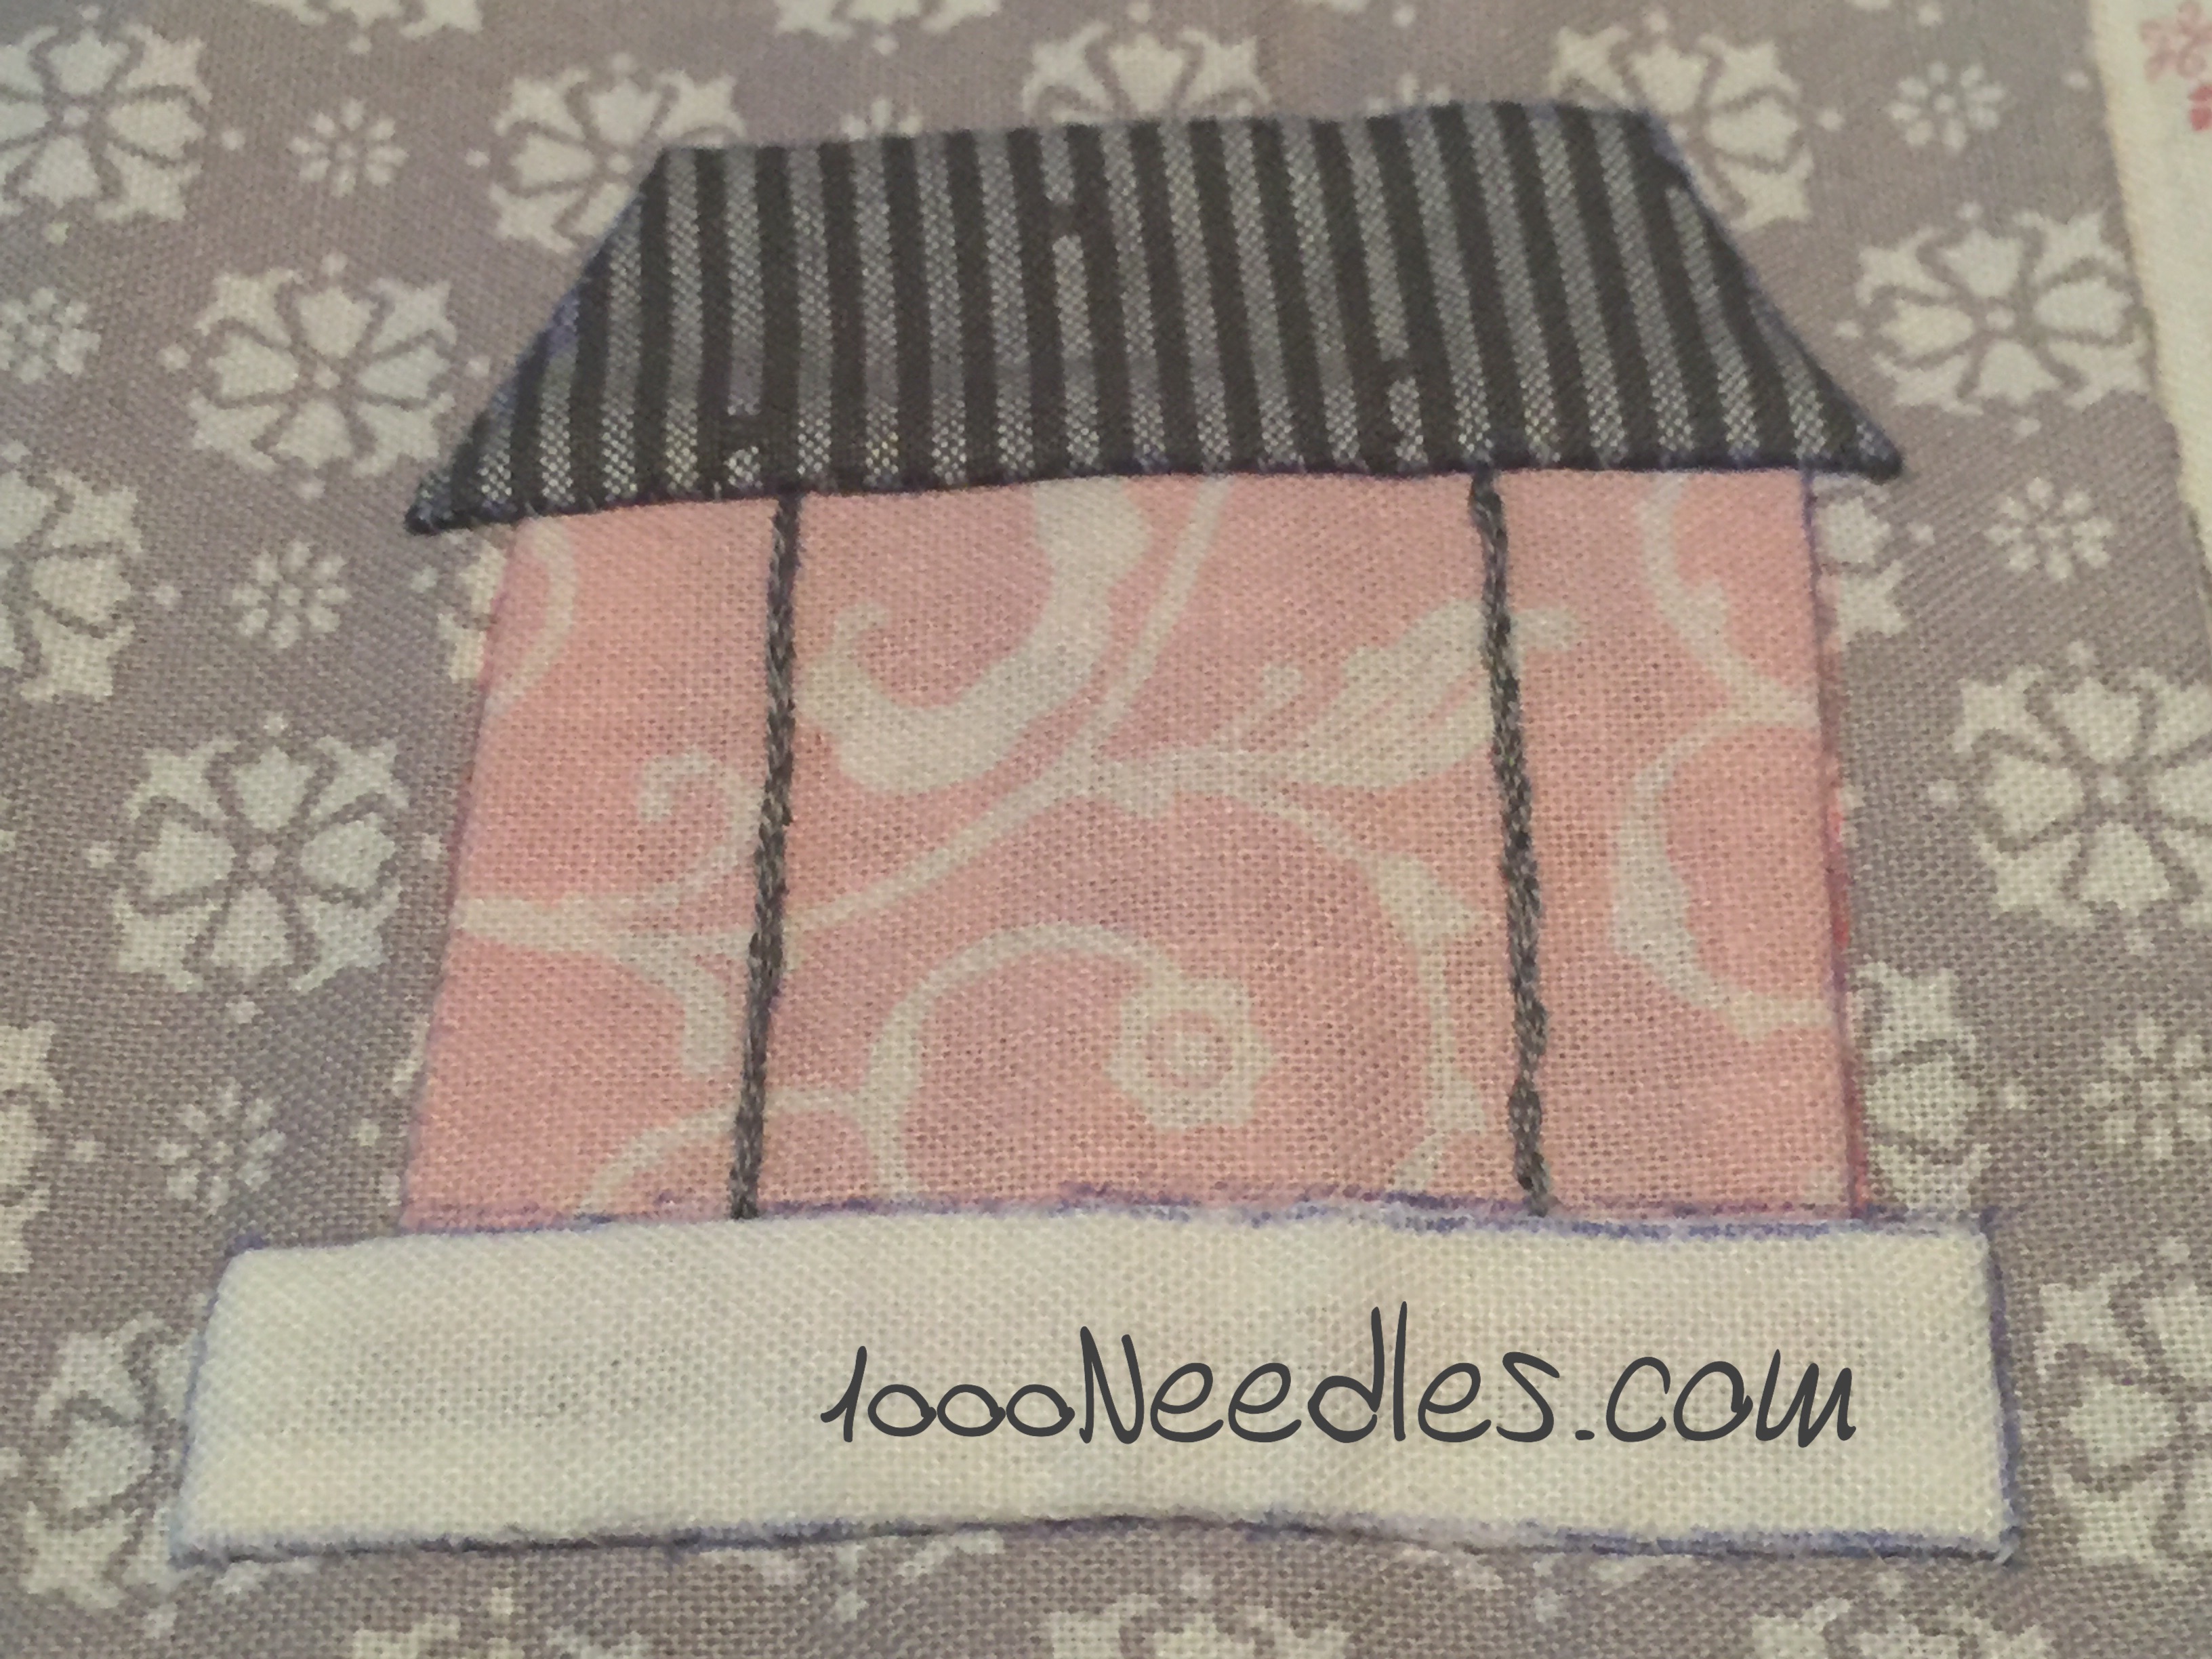
And here’s the final block so far with both windows embroidered…

… a close up of my work…
~Happy Tuesday!
Melanie
Like this:
Like Loading...